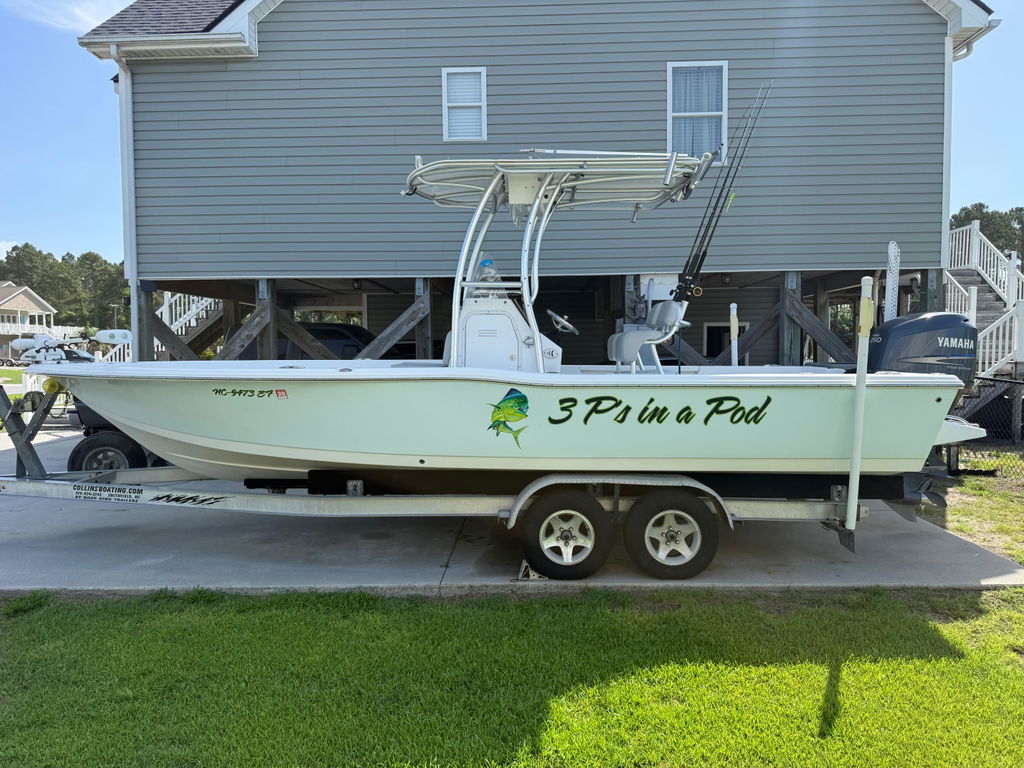

Salt-Shark boat wash background banner for the shop page

How To Use
Our products

Salt-Shark Super Concentrate Salt Remover cover image for the product collection pageSalt-Shark 2.0 Brass Foam Sprayer cover image for the product collection pageSalt-Shark Super Concentrate Salt Remover cover image, alternate versionSalt-Shark Super Concentrate Salt Remover cover image, alternate versionSalt-Shark Super Concentrate Salt Remover cover image, alternate versionSalt-Shark Aluminium Restorer cover image for the product collection pageSalt-Shark Super Concentrate Salt Remover cover image, alternate version

SALT REMOVER CONCENTRATES

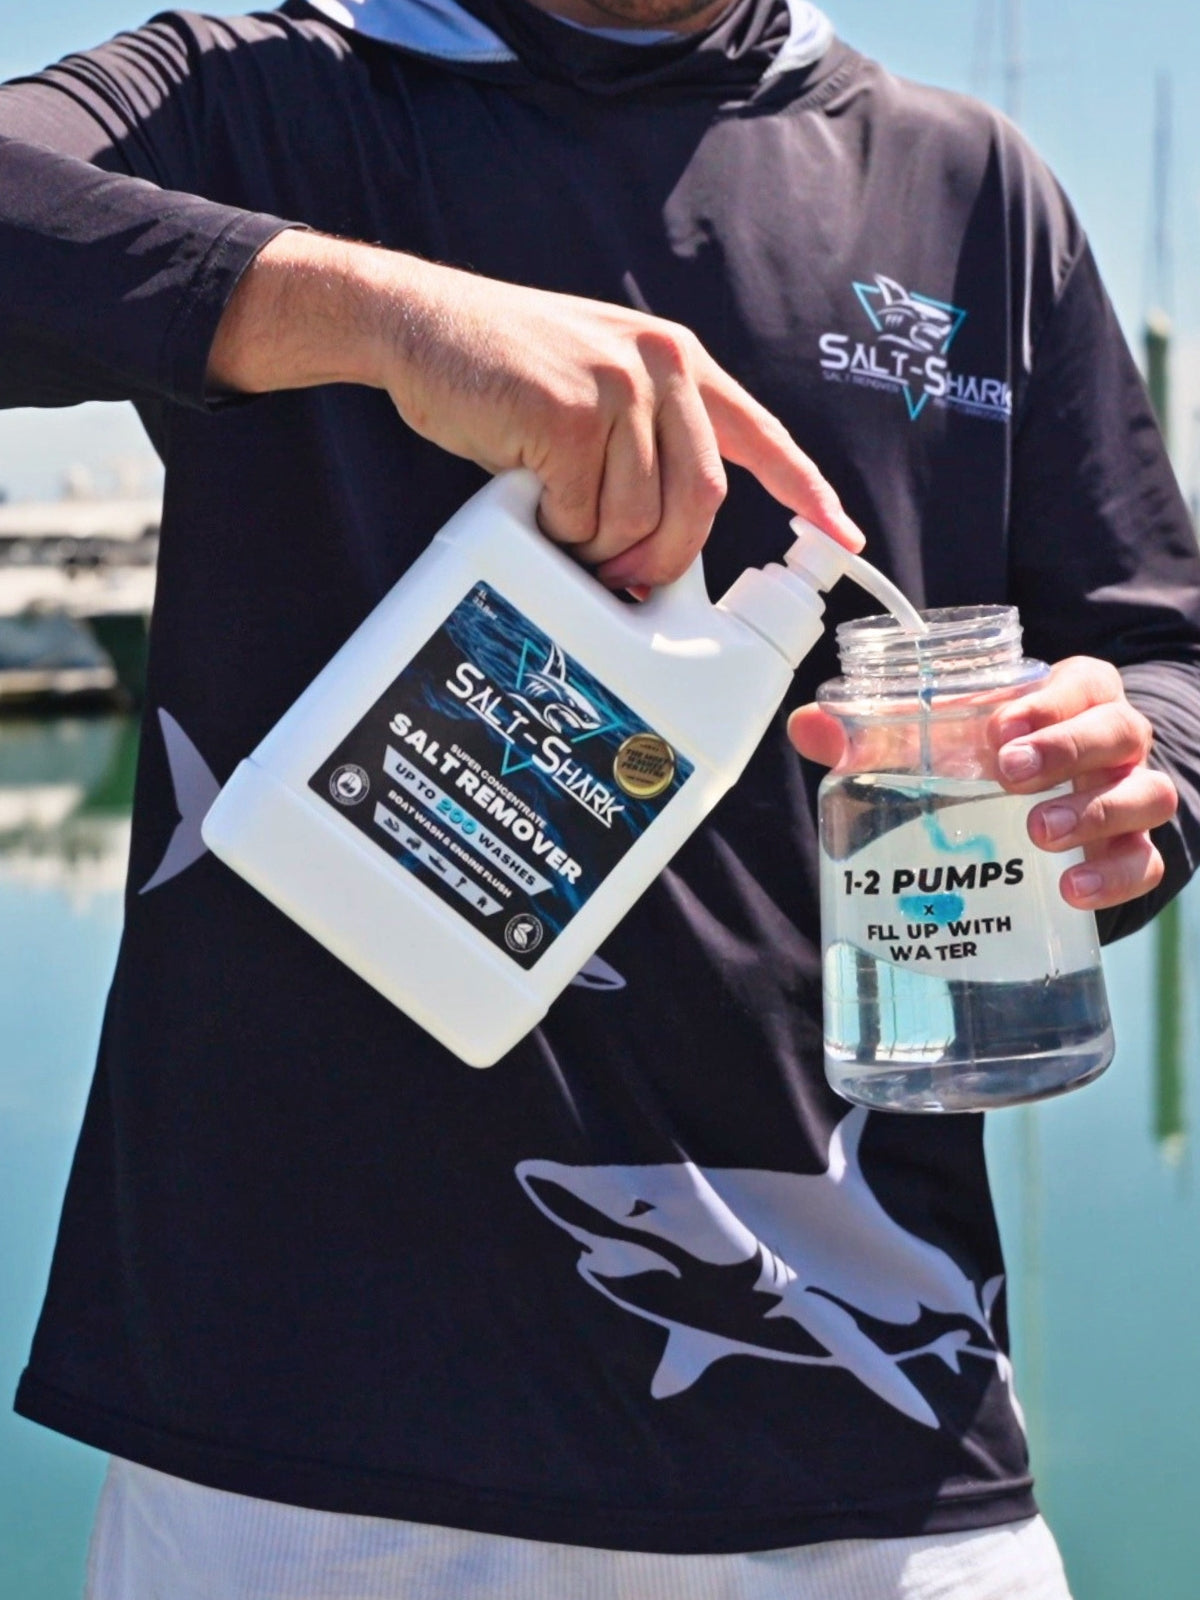
Simply the worlds leading value and quality salt remover concentrate. Here are the simply steps to using them. Don't forget, we are also the easiest and fastest salt remover to use!

SHOP NOW
Step-by-step photo: salt crystals on a surface before washing with Salt-Shark
01

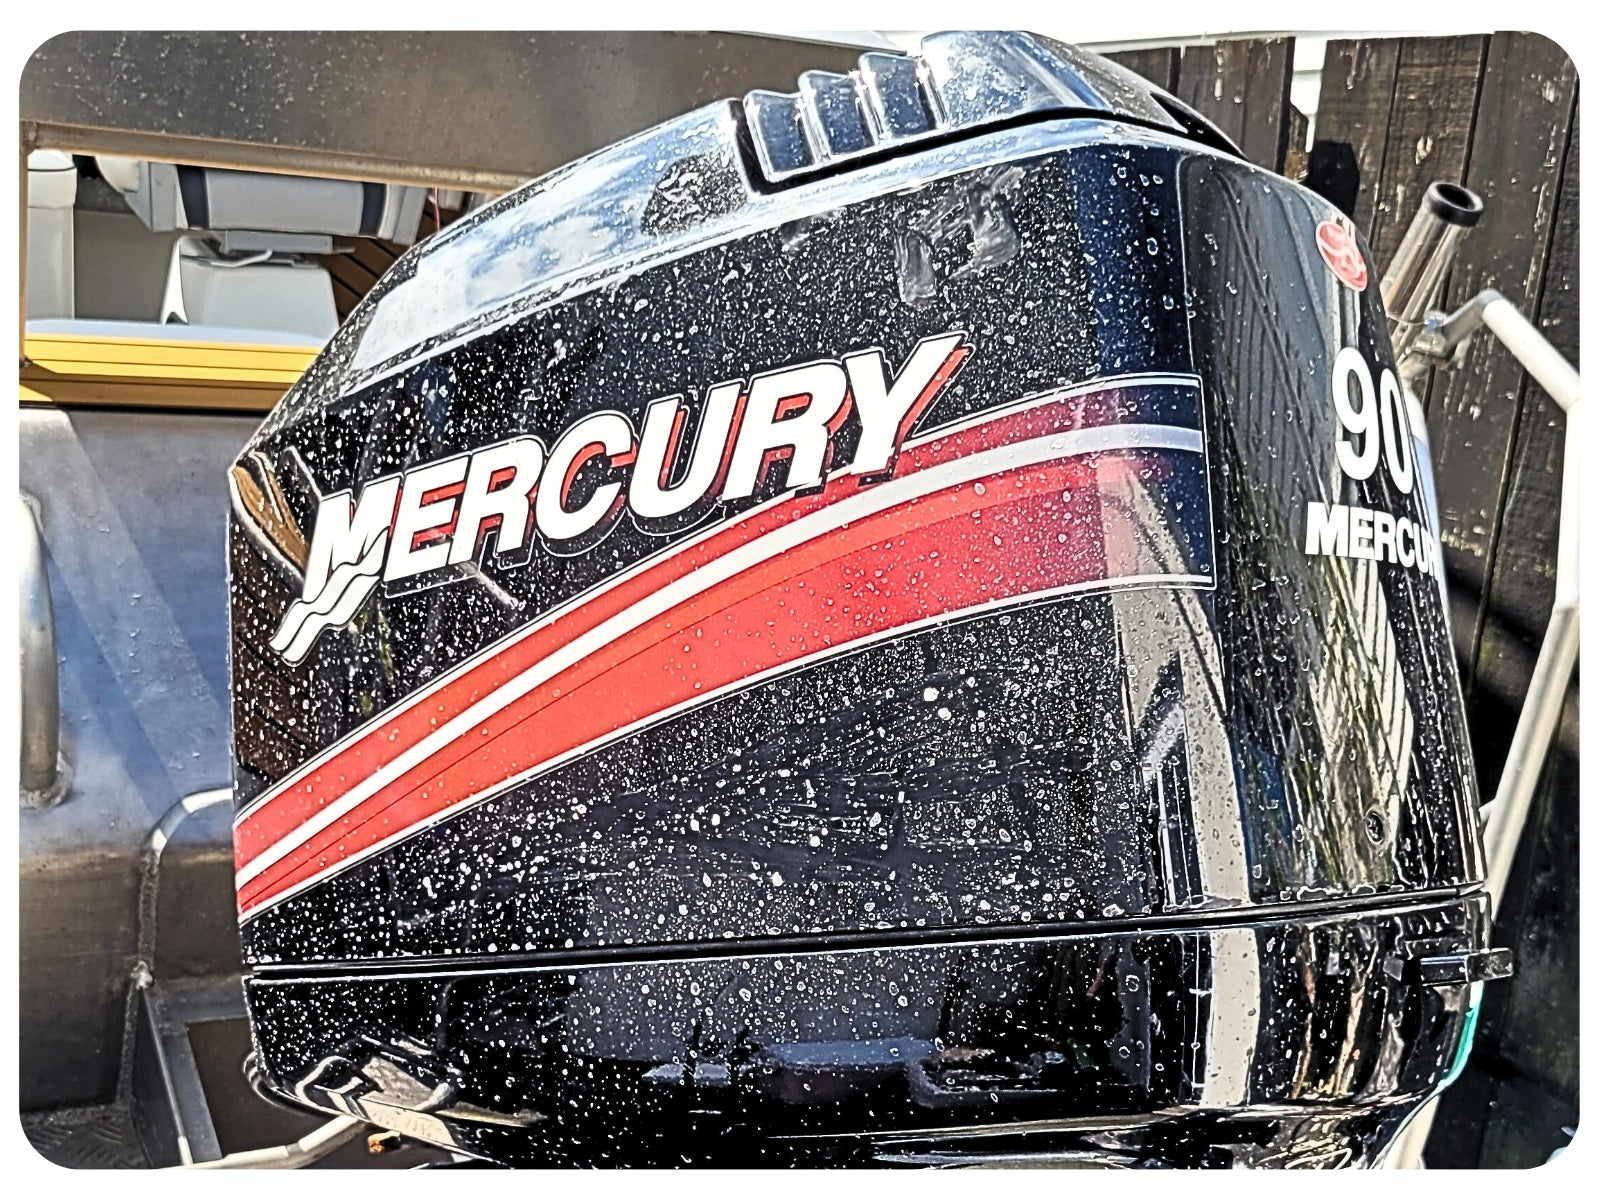
Is it salty?

Regularly inspect for signs of salt exposure. Even if you can see obvious signs of sea salt, if you have been in on or near the ocean there will be salt on the surface.

Step-by-step photo: salt crystals on a surface before washing with Salt-Shark, alternate angle
02

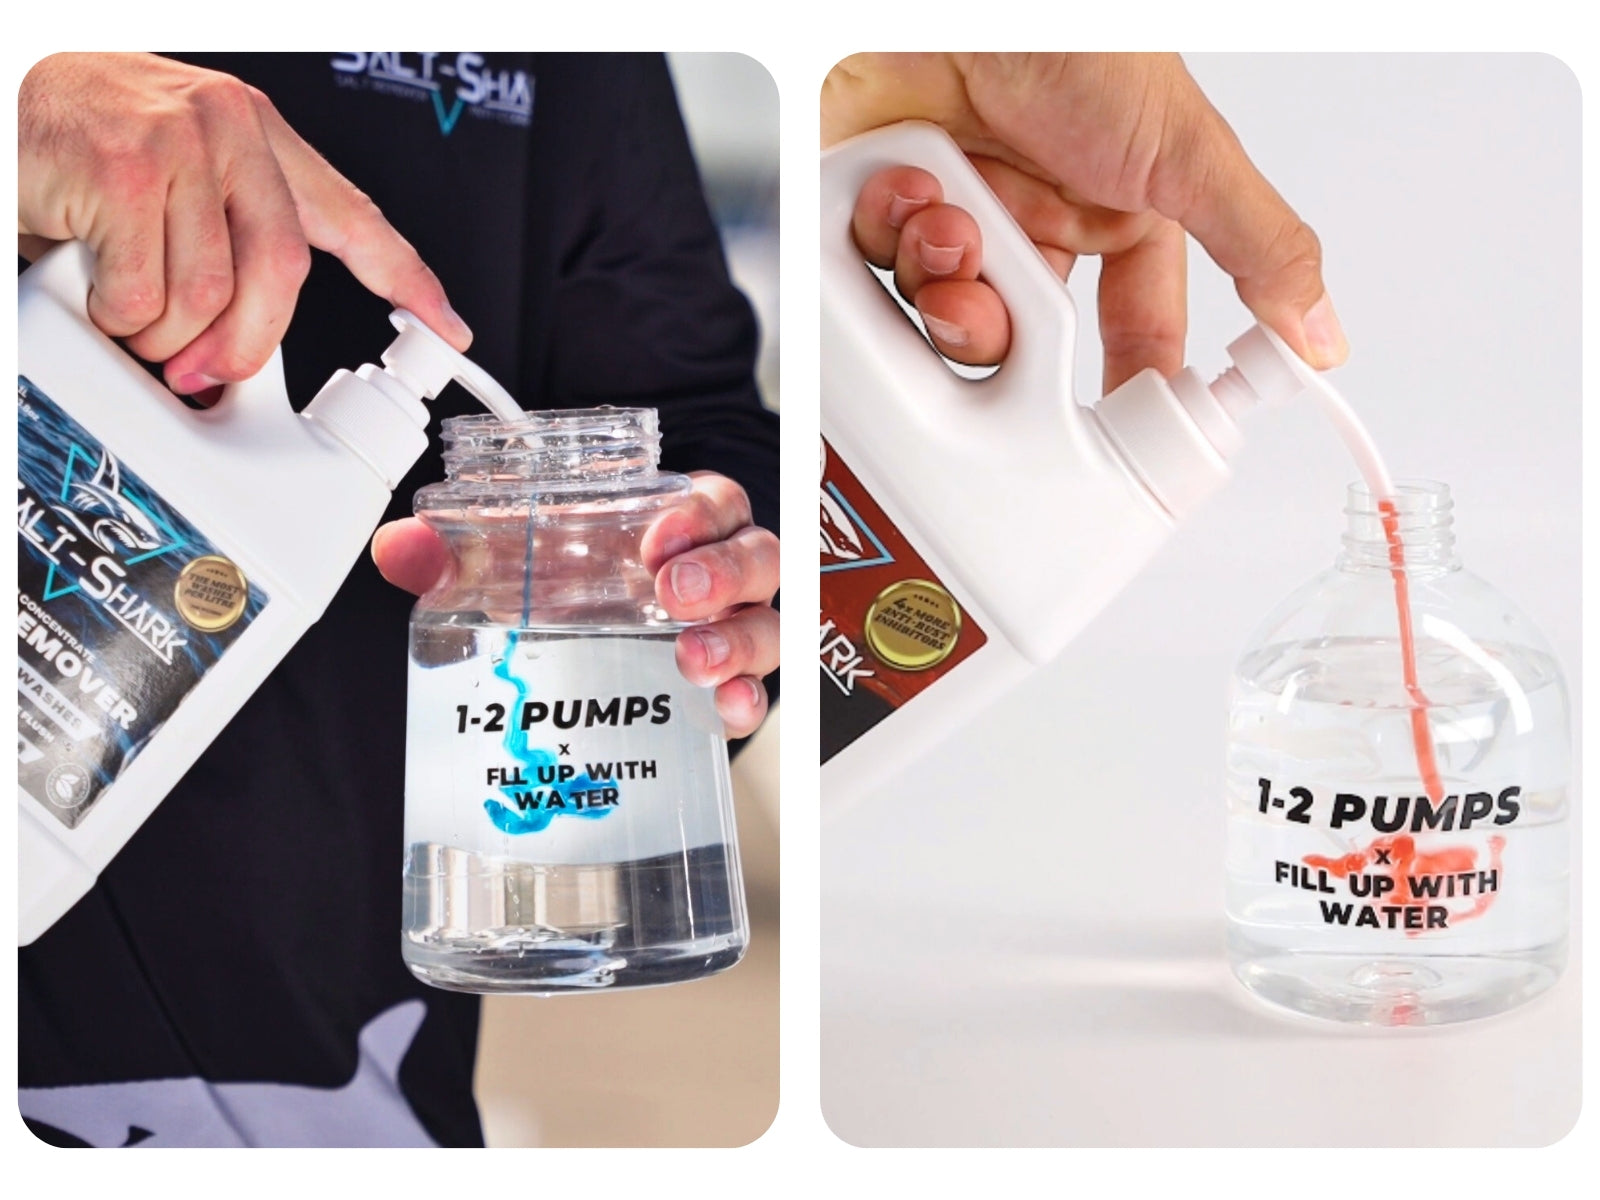
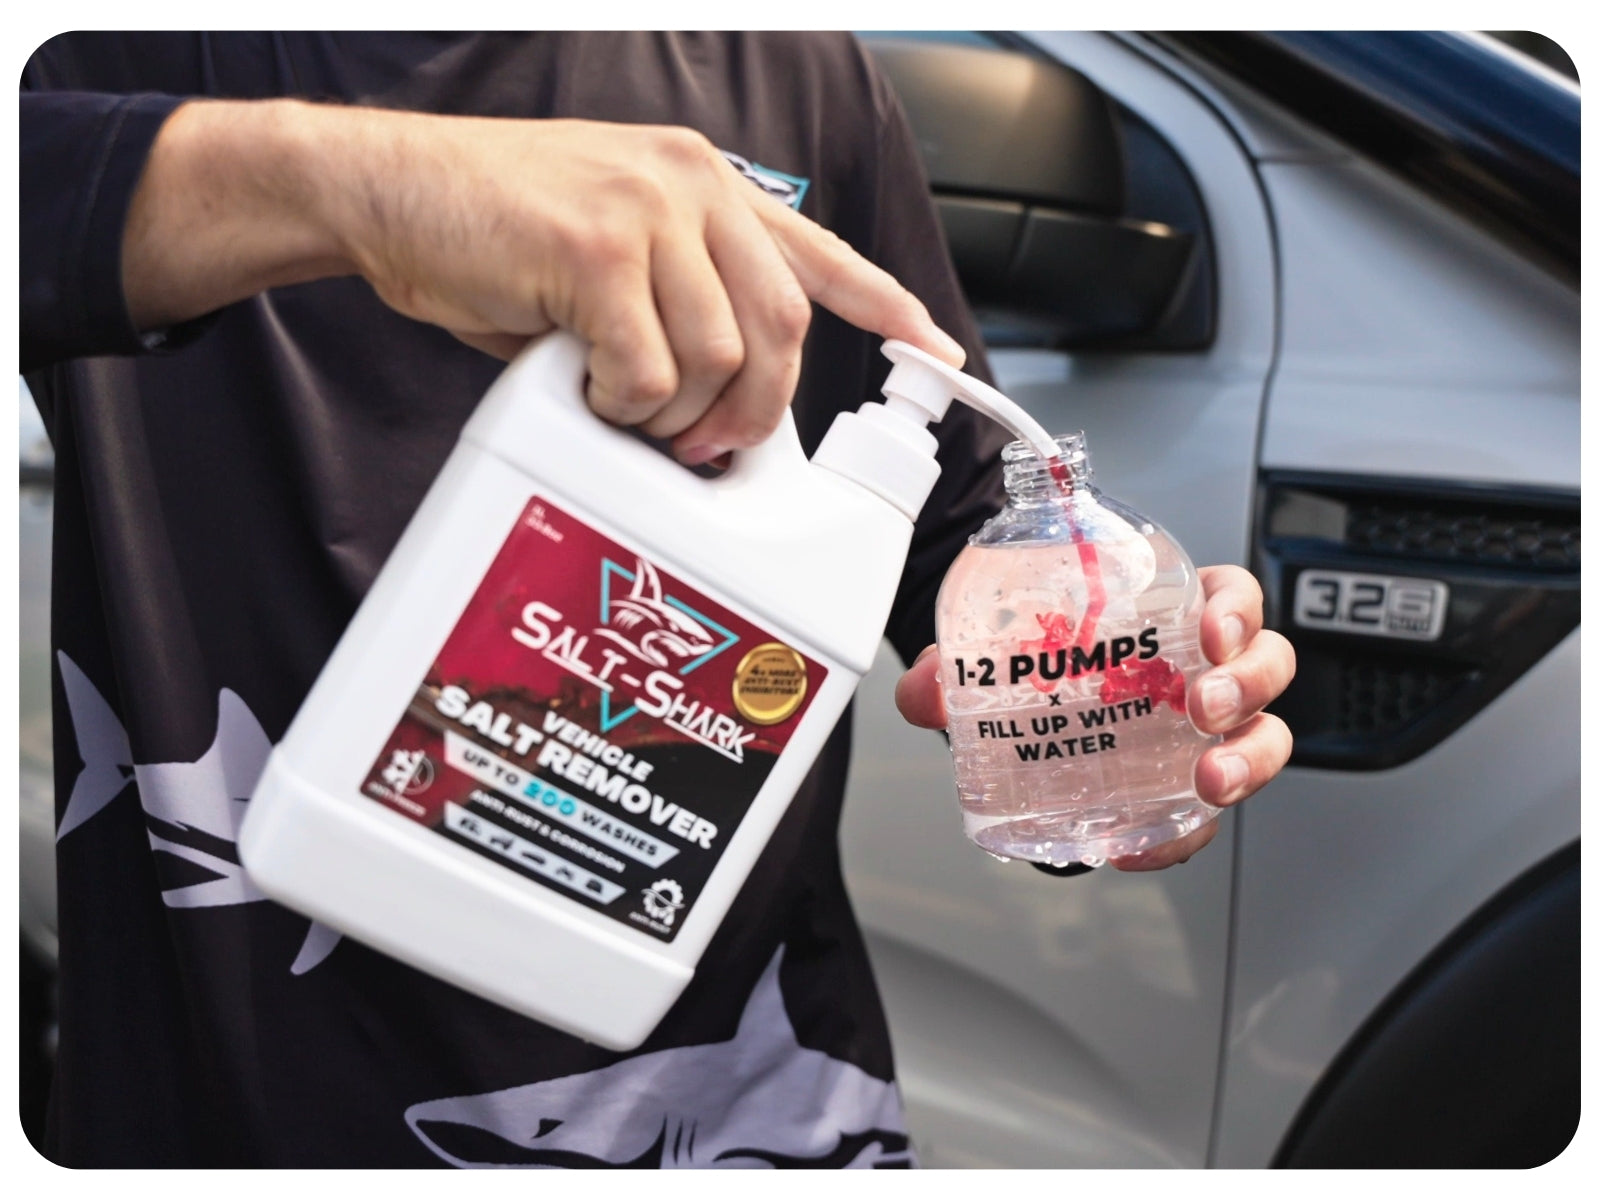
PUMP

For both of our super concentrated Salt Remover formulas, follow the simply instructions on the sprayer containers.

Step-by-step photo: foam covering a surface during a Salt-Shark wash
03

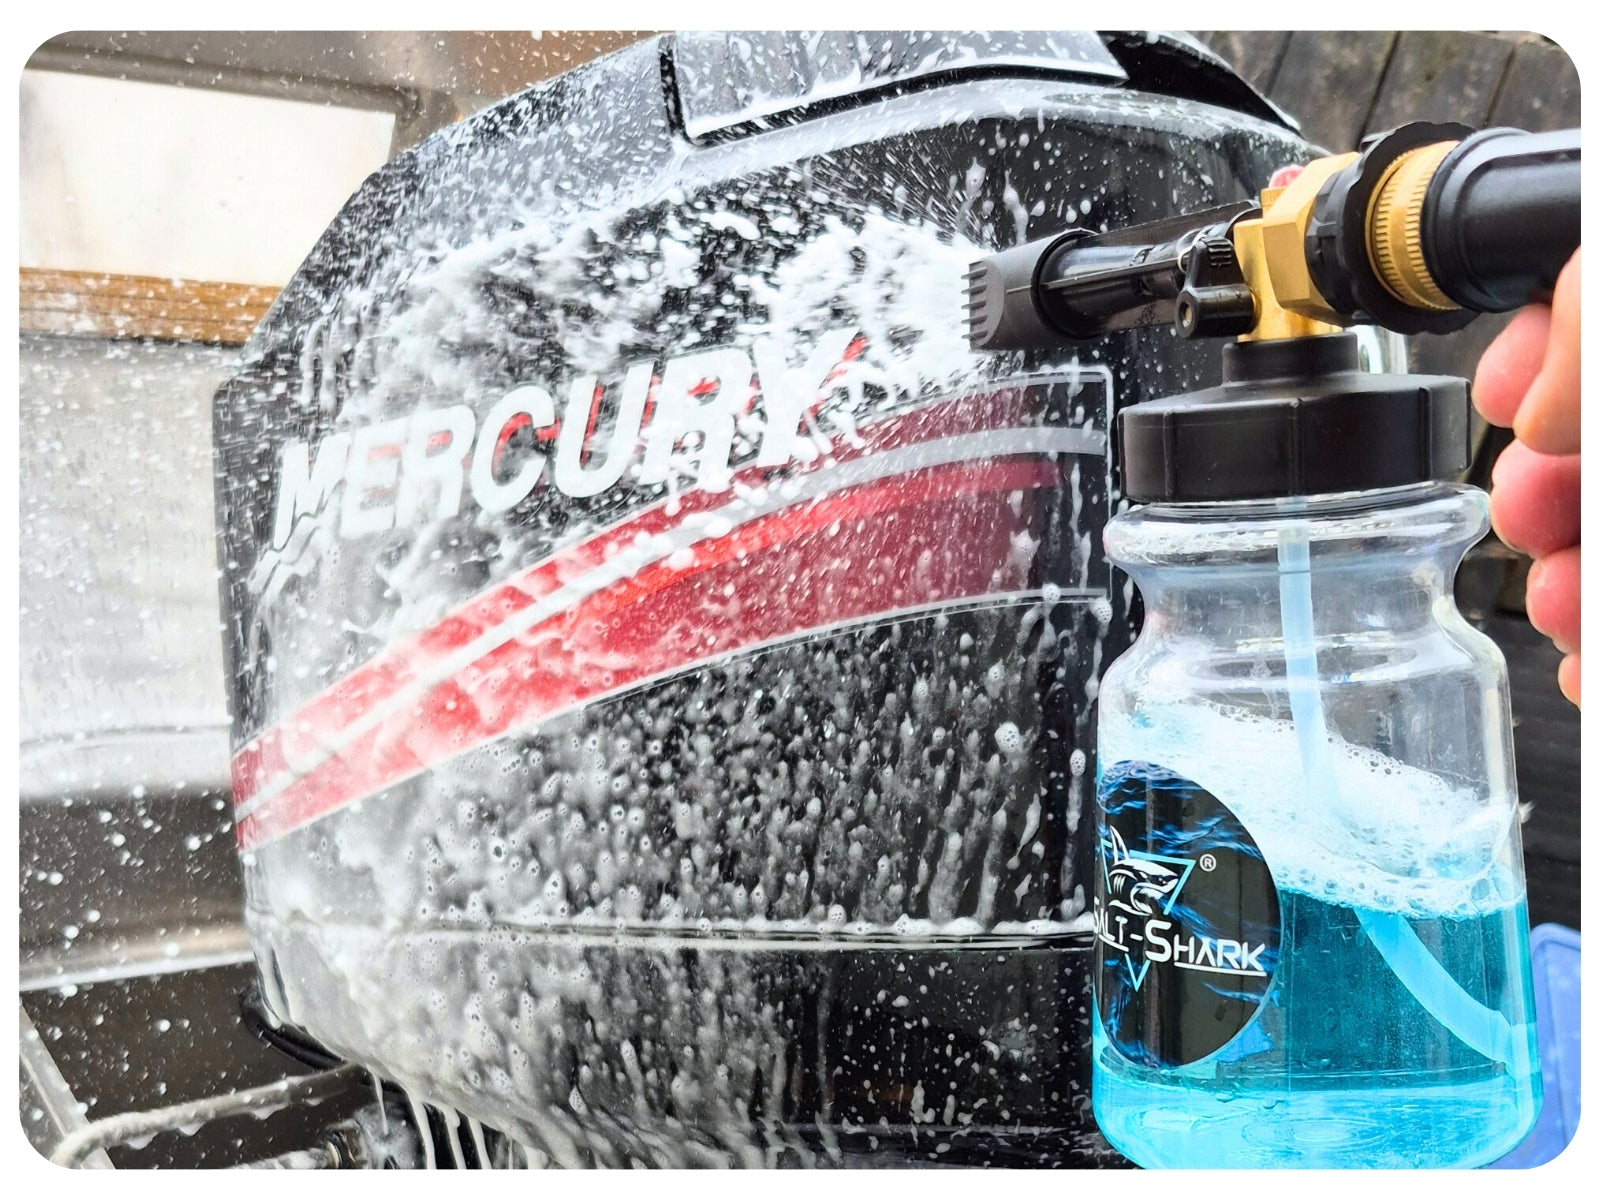
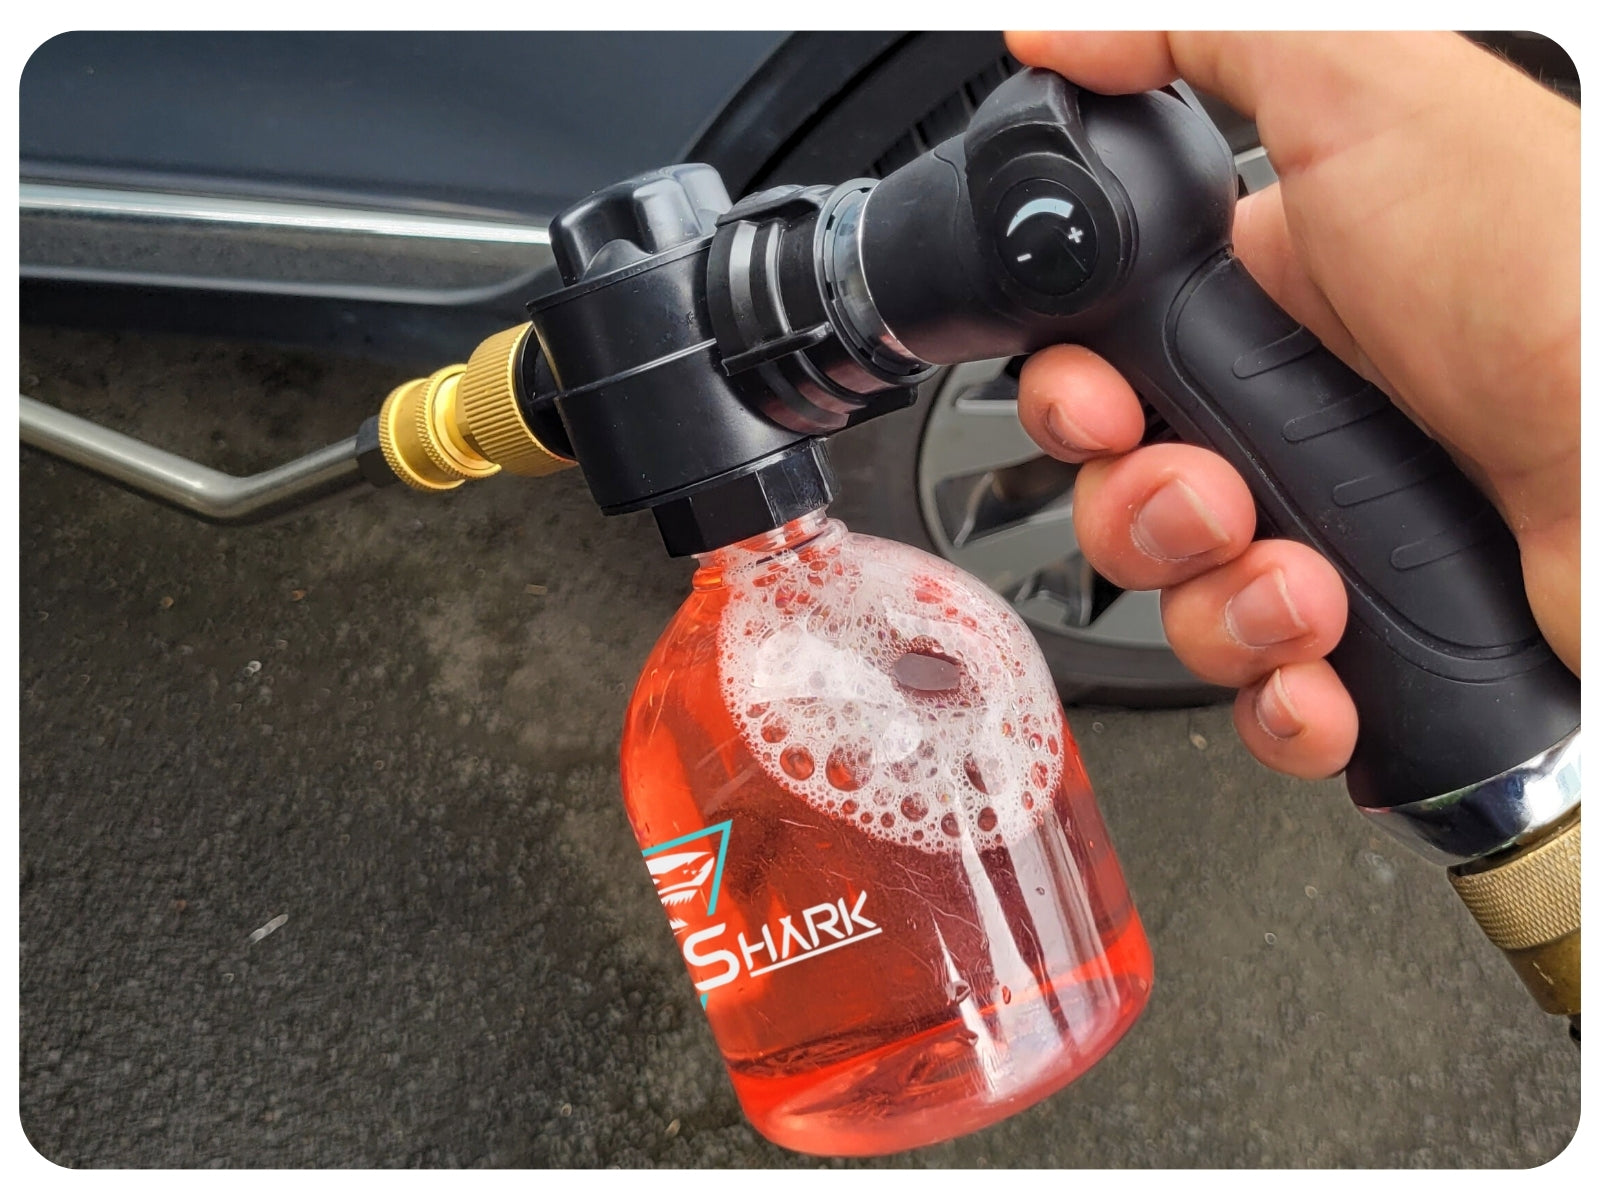
Foam it up

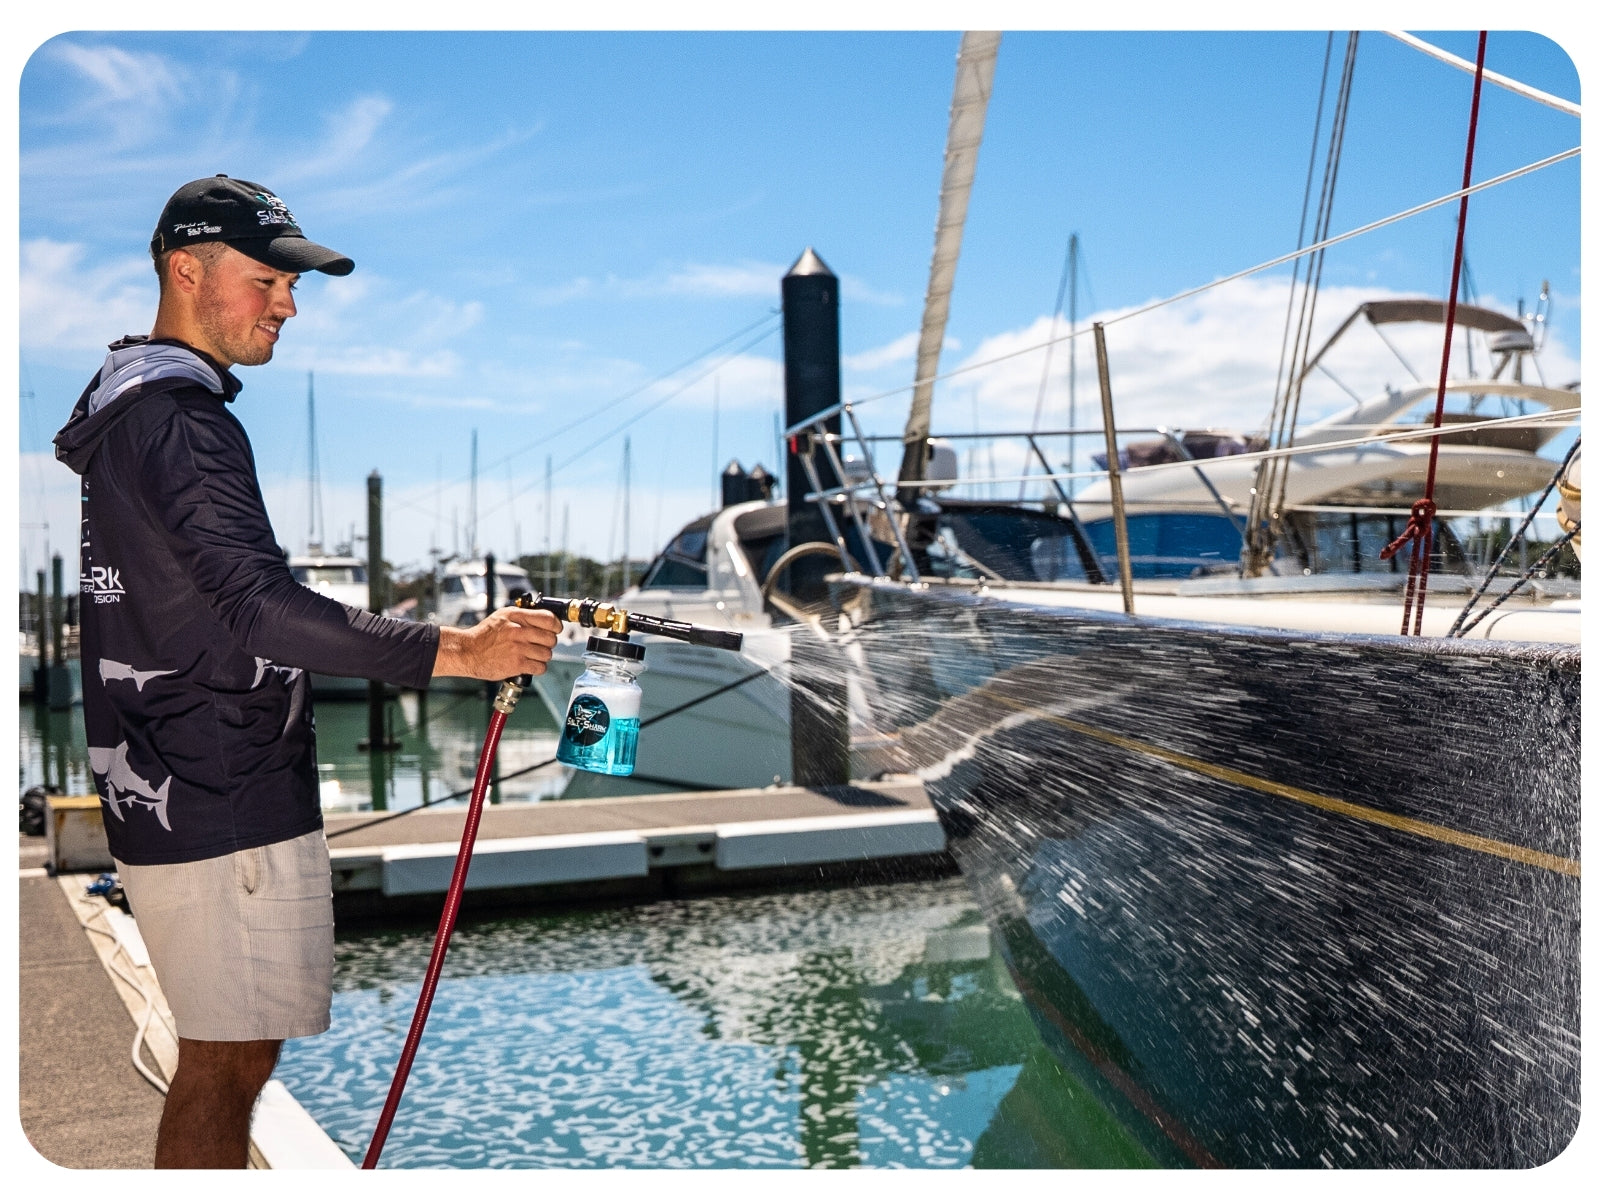
With your Salt-Shark sprayer, cover the entire surface with the foamy Salt-Shark formula. Insuring everywhere is covered in foam.

Step-by-step photo: rinsing a surface with the Salt-Shark Brass Foam Sprayer after washing
04

Disconnect to rinse

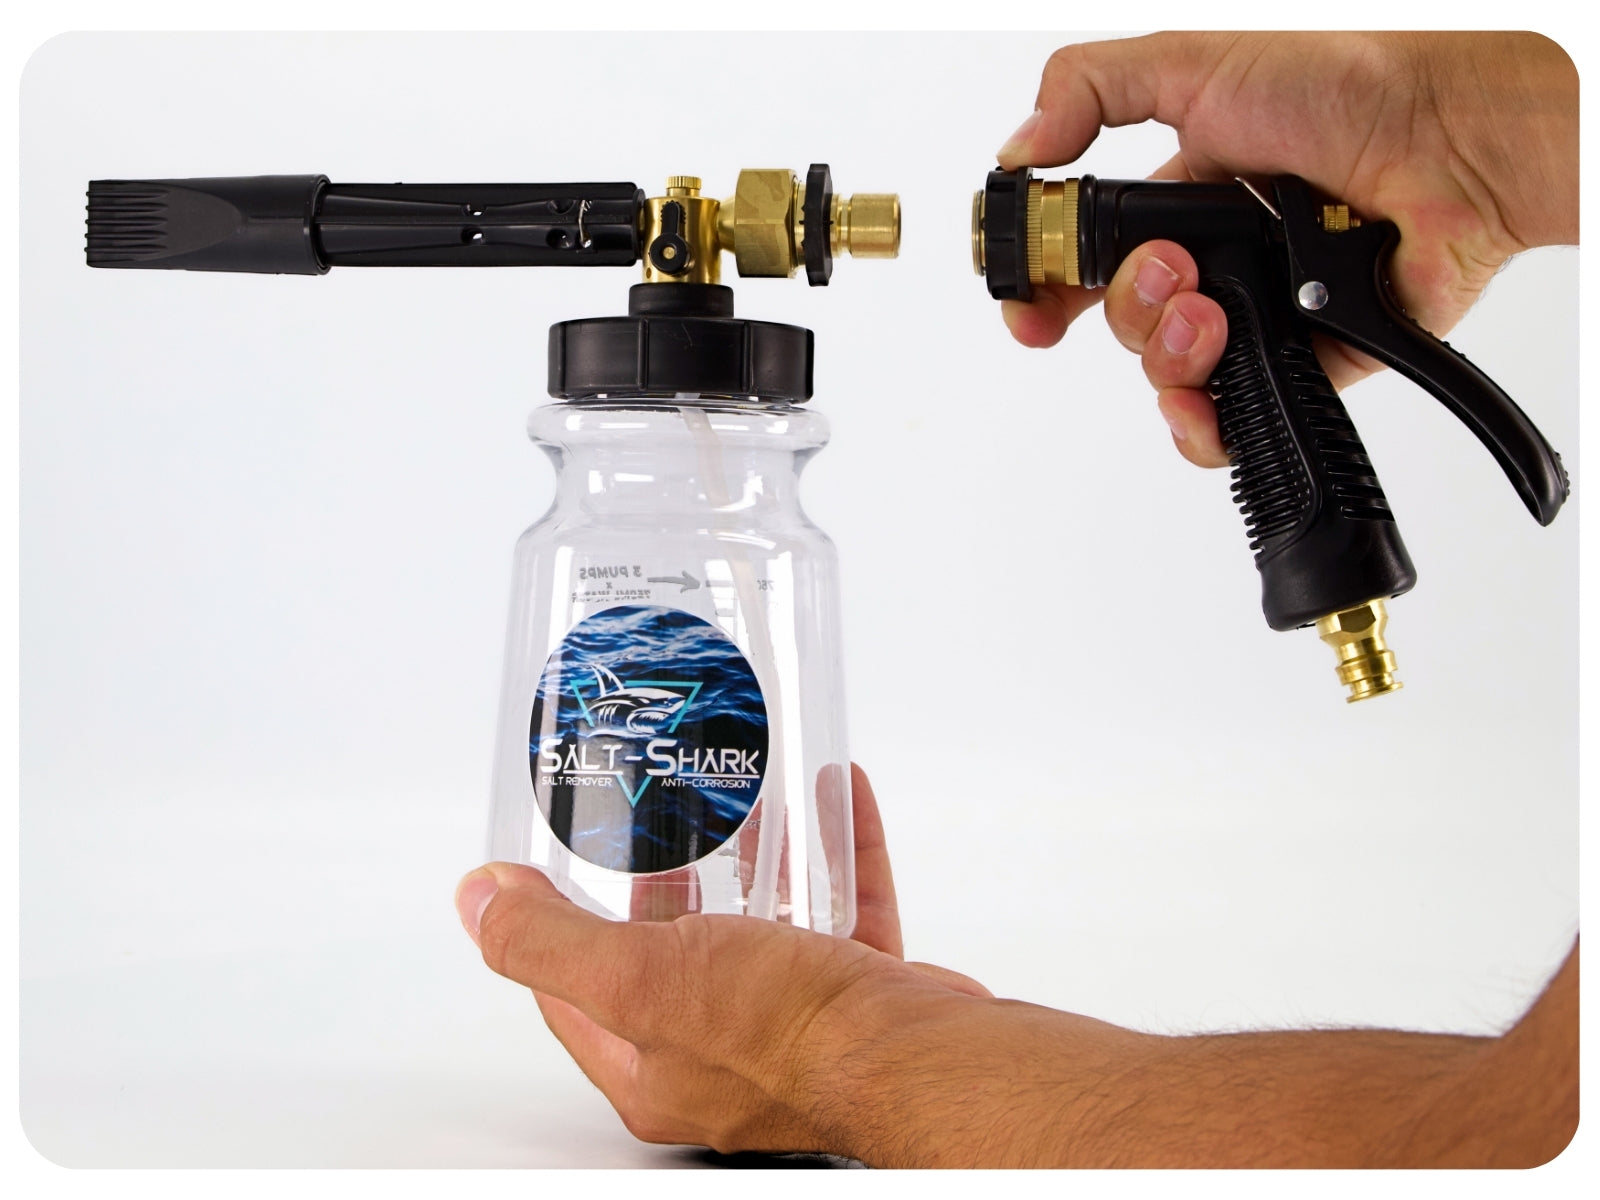
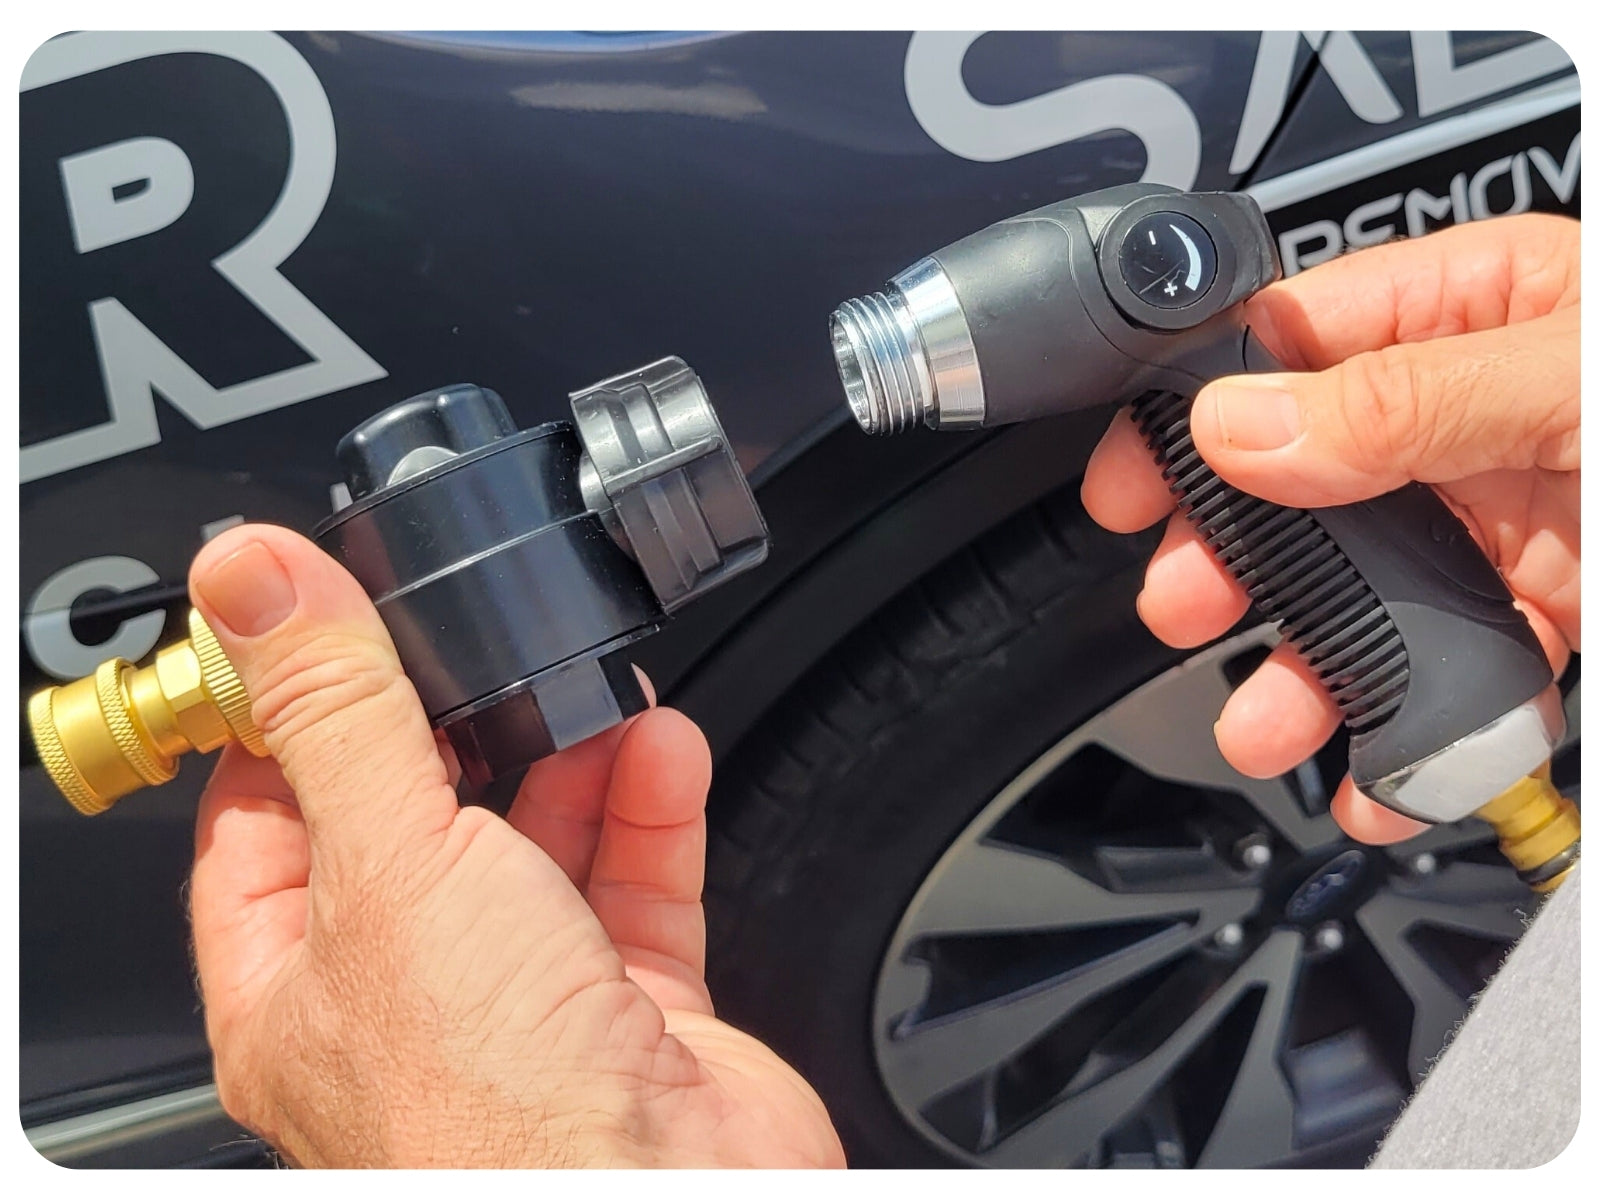
Pull the black ring seen in the photo back to quick release the nozzle to rinse. By adjusting how hard you squeeze, you can switch between the different rinsing settings.

Step-by-step photo: the finished shiny, salt-free result after a Salt-Shark wash
05

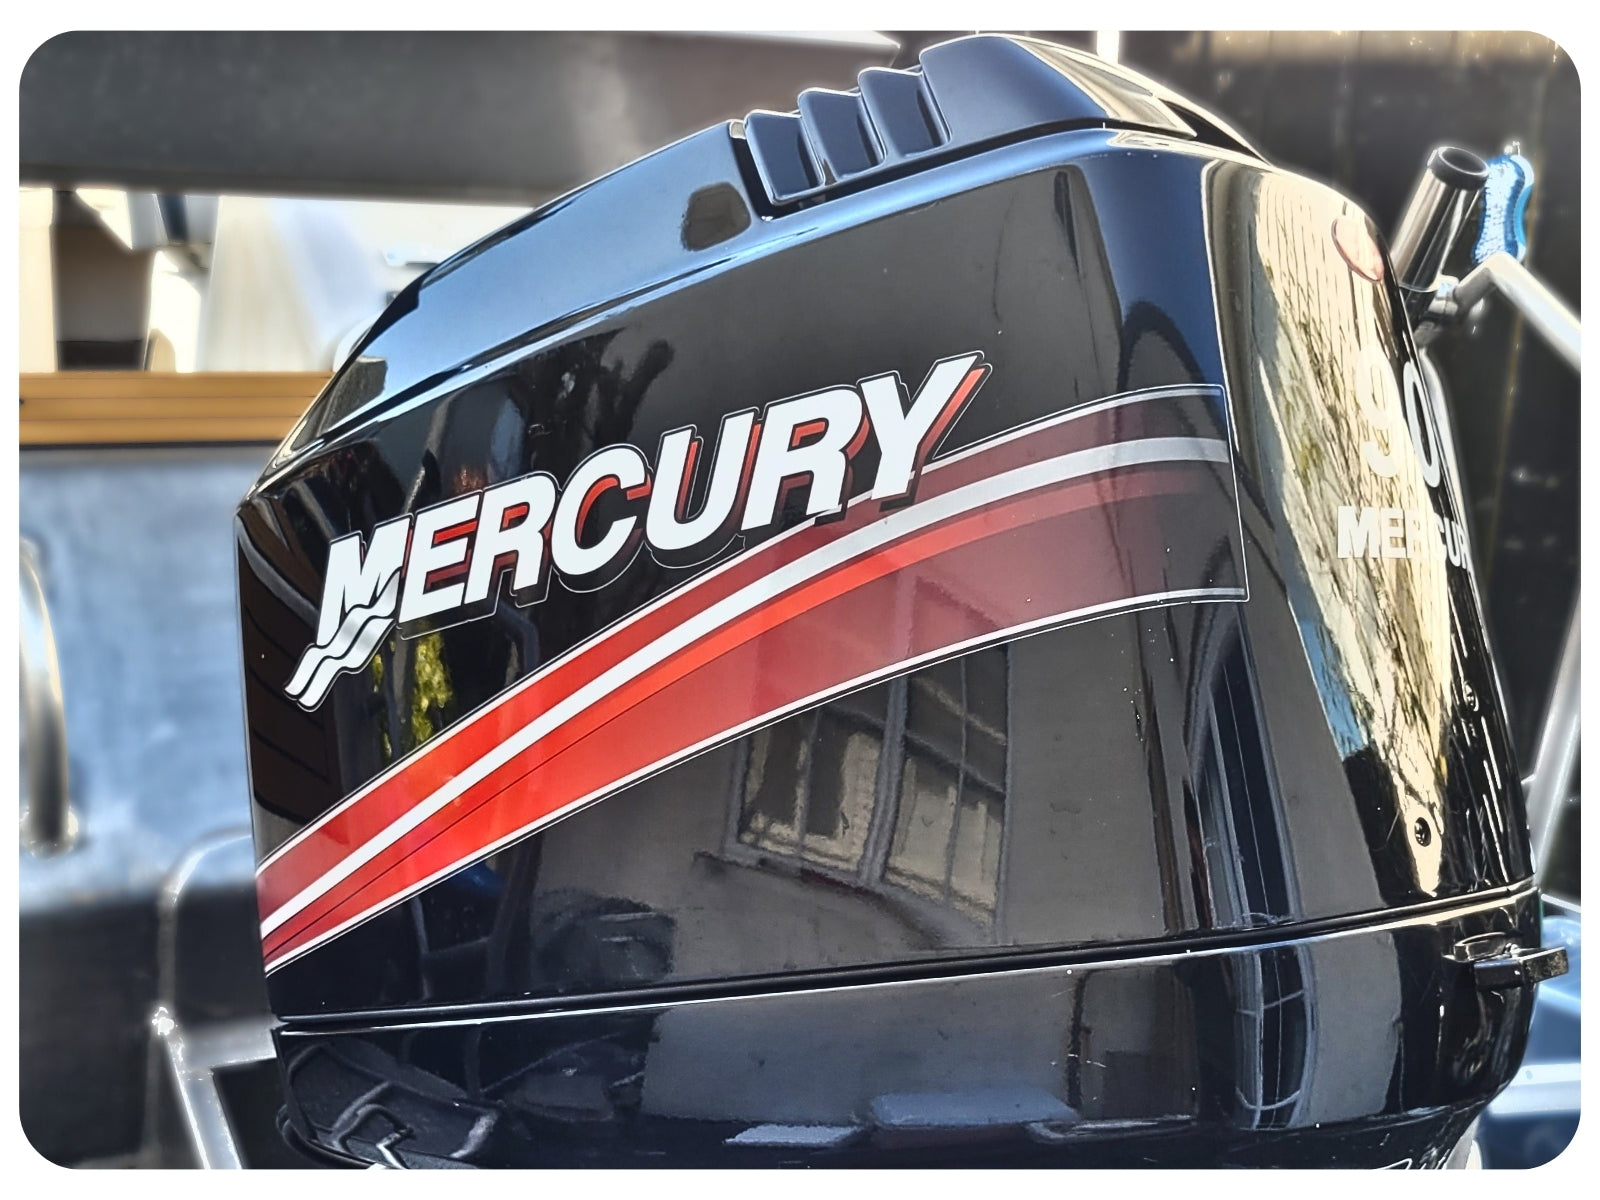
Enjoy the shine

For the ultimate shine dry with our drying towel to ensure no water markets are left.

01

Is it salty?

Regularly inspect for signs of salt exposure. Even if you can see obvious signs of sea salt, if you have been in on or near the ocean there will be salt on the surface.

02

PUMP

For both of our super concentrated Salt Remover formulas, follow the simply instructions on the sprayer containers.

03

Foam it up

With your Salt-Shark sprayer, cover the entire surface with the foamy Salt-Shark formula. Insuring everywhere is covered in foam.

04

Disconnect to rinse

Pull the black ring seen in the photo back to quick release the nozzle to rinse. By adjusting how hard you squeeze, you can switch between the different rinsing settings.

05

Enjoy the shine

For the ultimate shine dry with our drying towel to ensure no water markets are left.

Step-by-step photo: salt crystals on a surface before washing with Salt-SharkStep-by-step photo: salt crystals on a surface before washing with Salt-Shark, alternate angleStep-by-step photo: foam covering a surface during a Salt-Shark washStep-by-step photo: rinsing a surface with the Salt-Shark Brass Foam Sprayer after washingStep-by-step photo: the finished shiny, salt-free result after a Salt-Shark wash

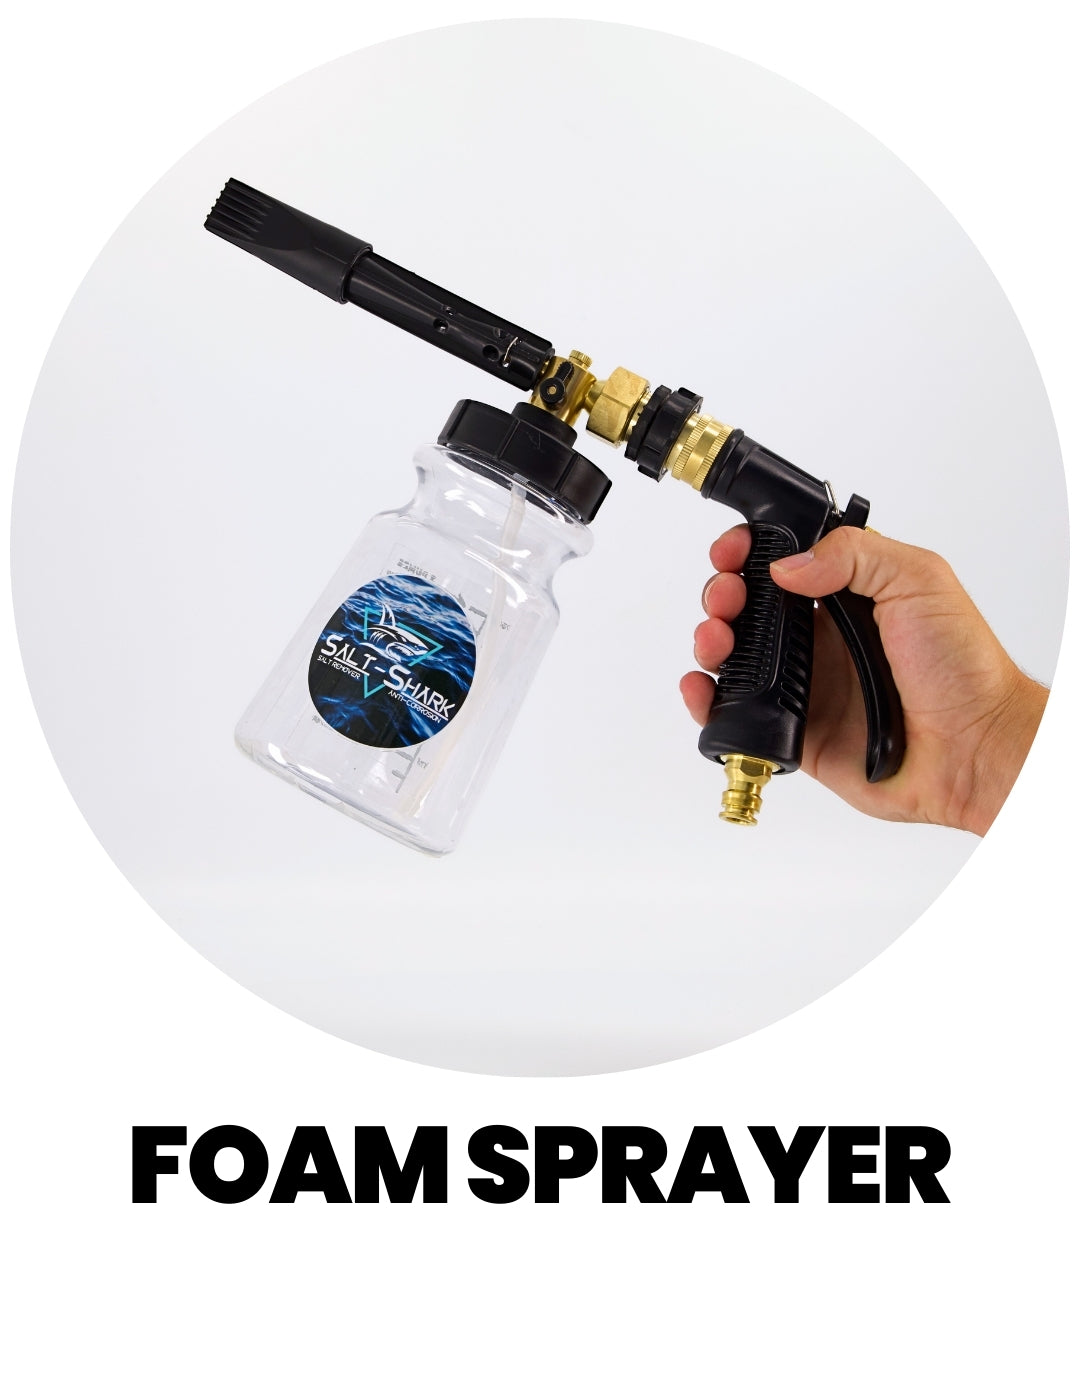
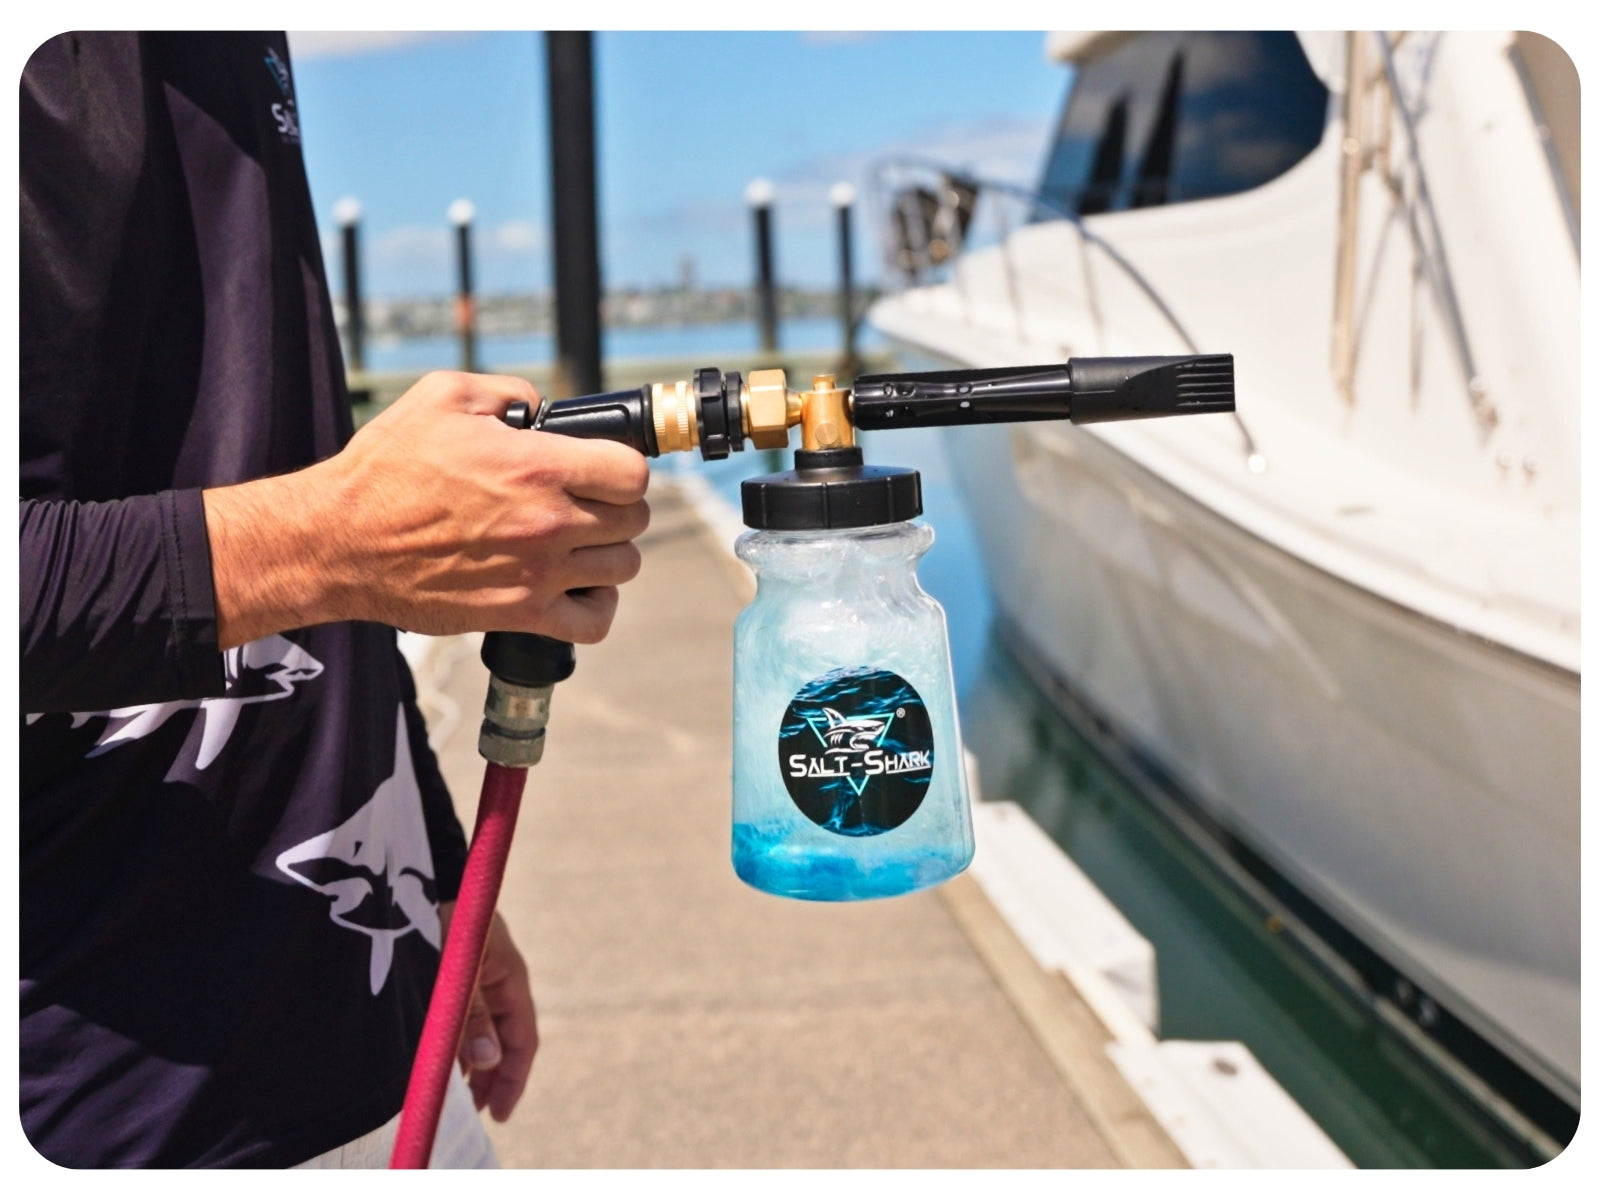
SALT-Shark Foam Sprayer

With a simple one-switch setting for foaming, this sprayer is a must have for all first time purchases with Salt-Shark! It evenly disburses the foam in a large fan motion, covering large hard-to-reach areas in just one spray.

SHOP NOW
Step-by-step photo: filling the Salt-Shark sprayer container with water
01

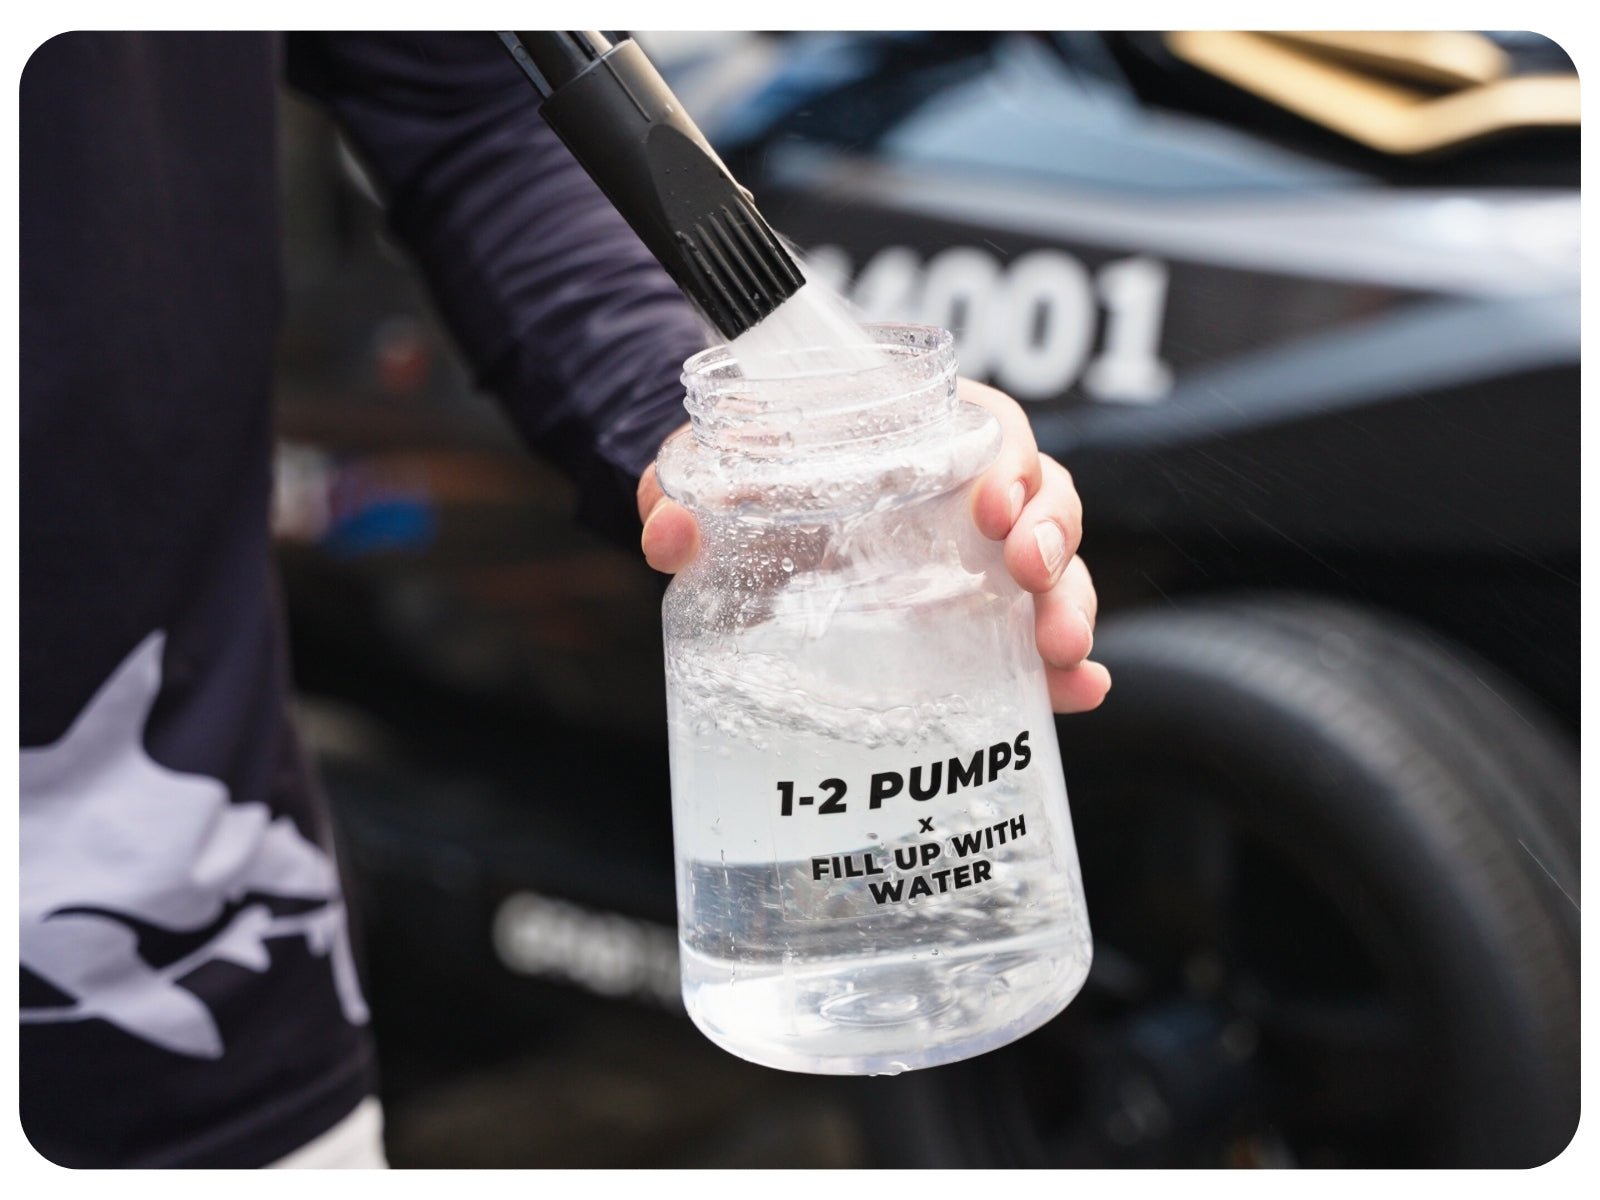
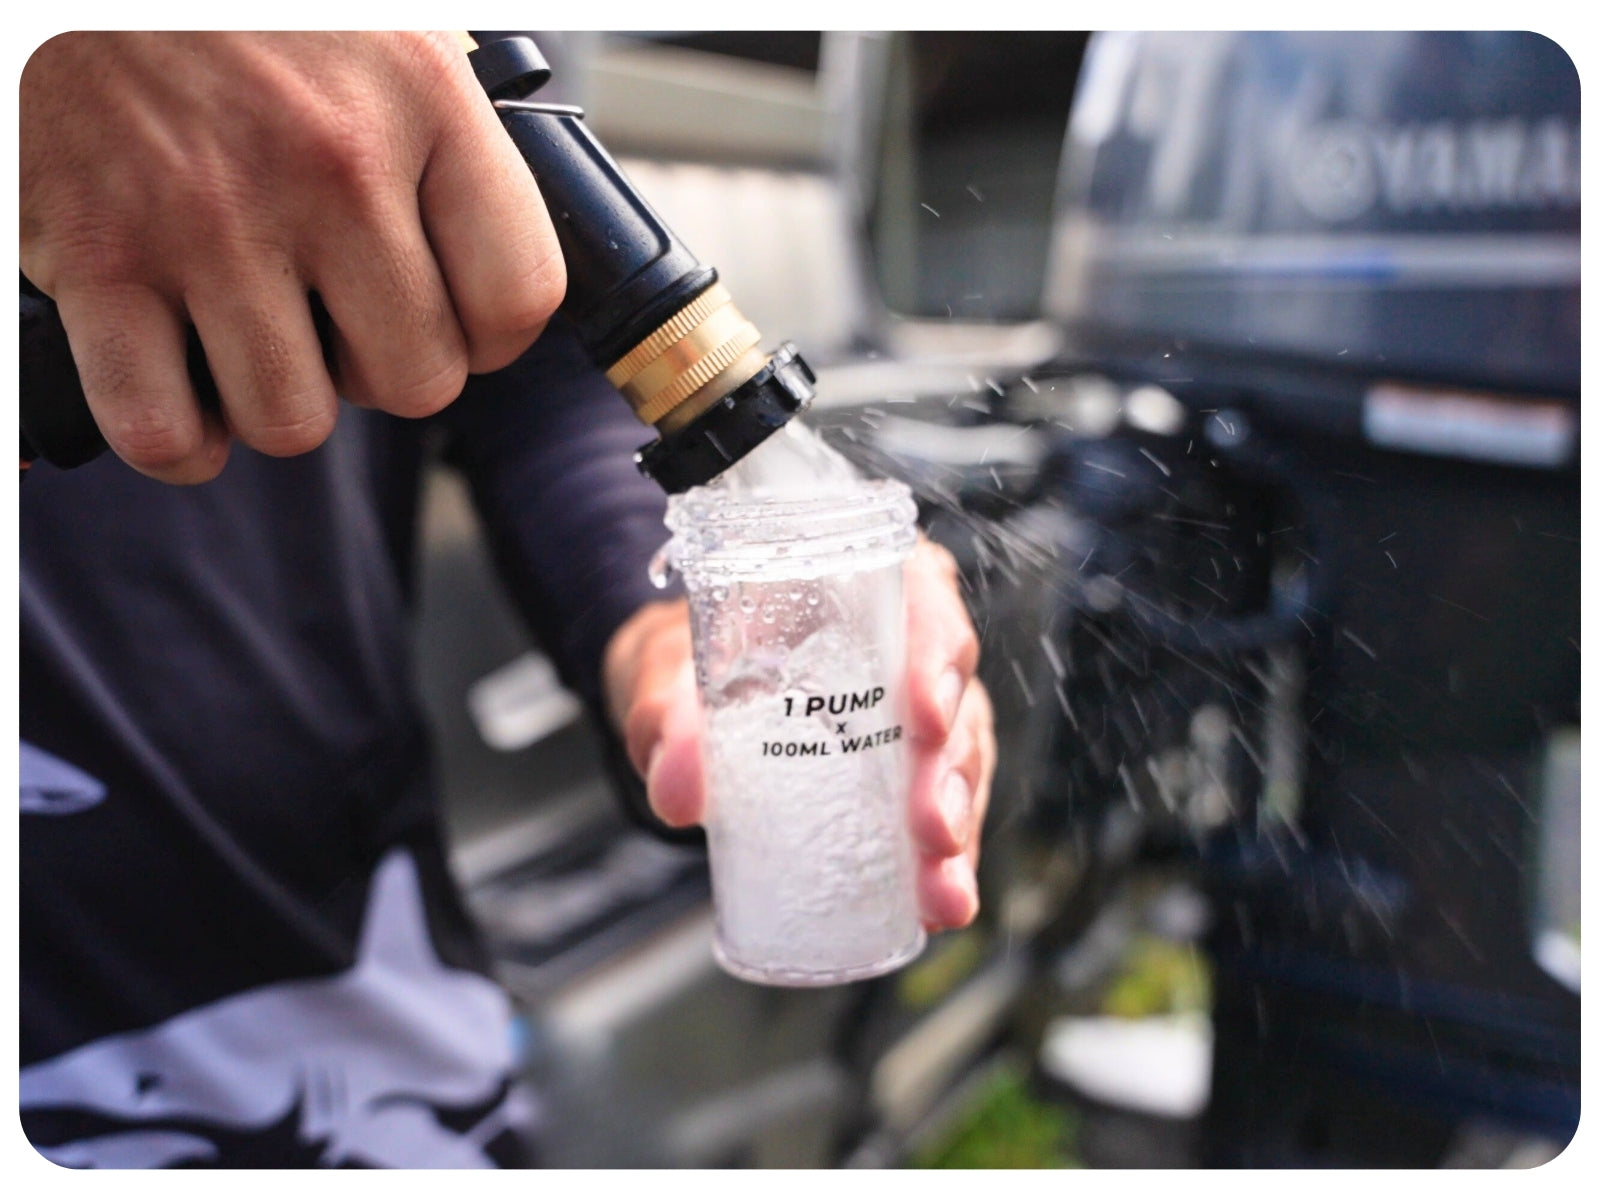
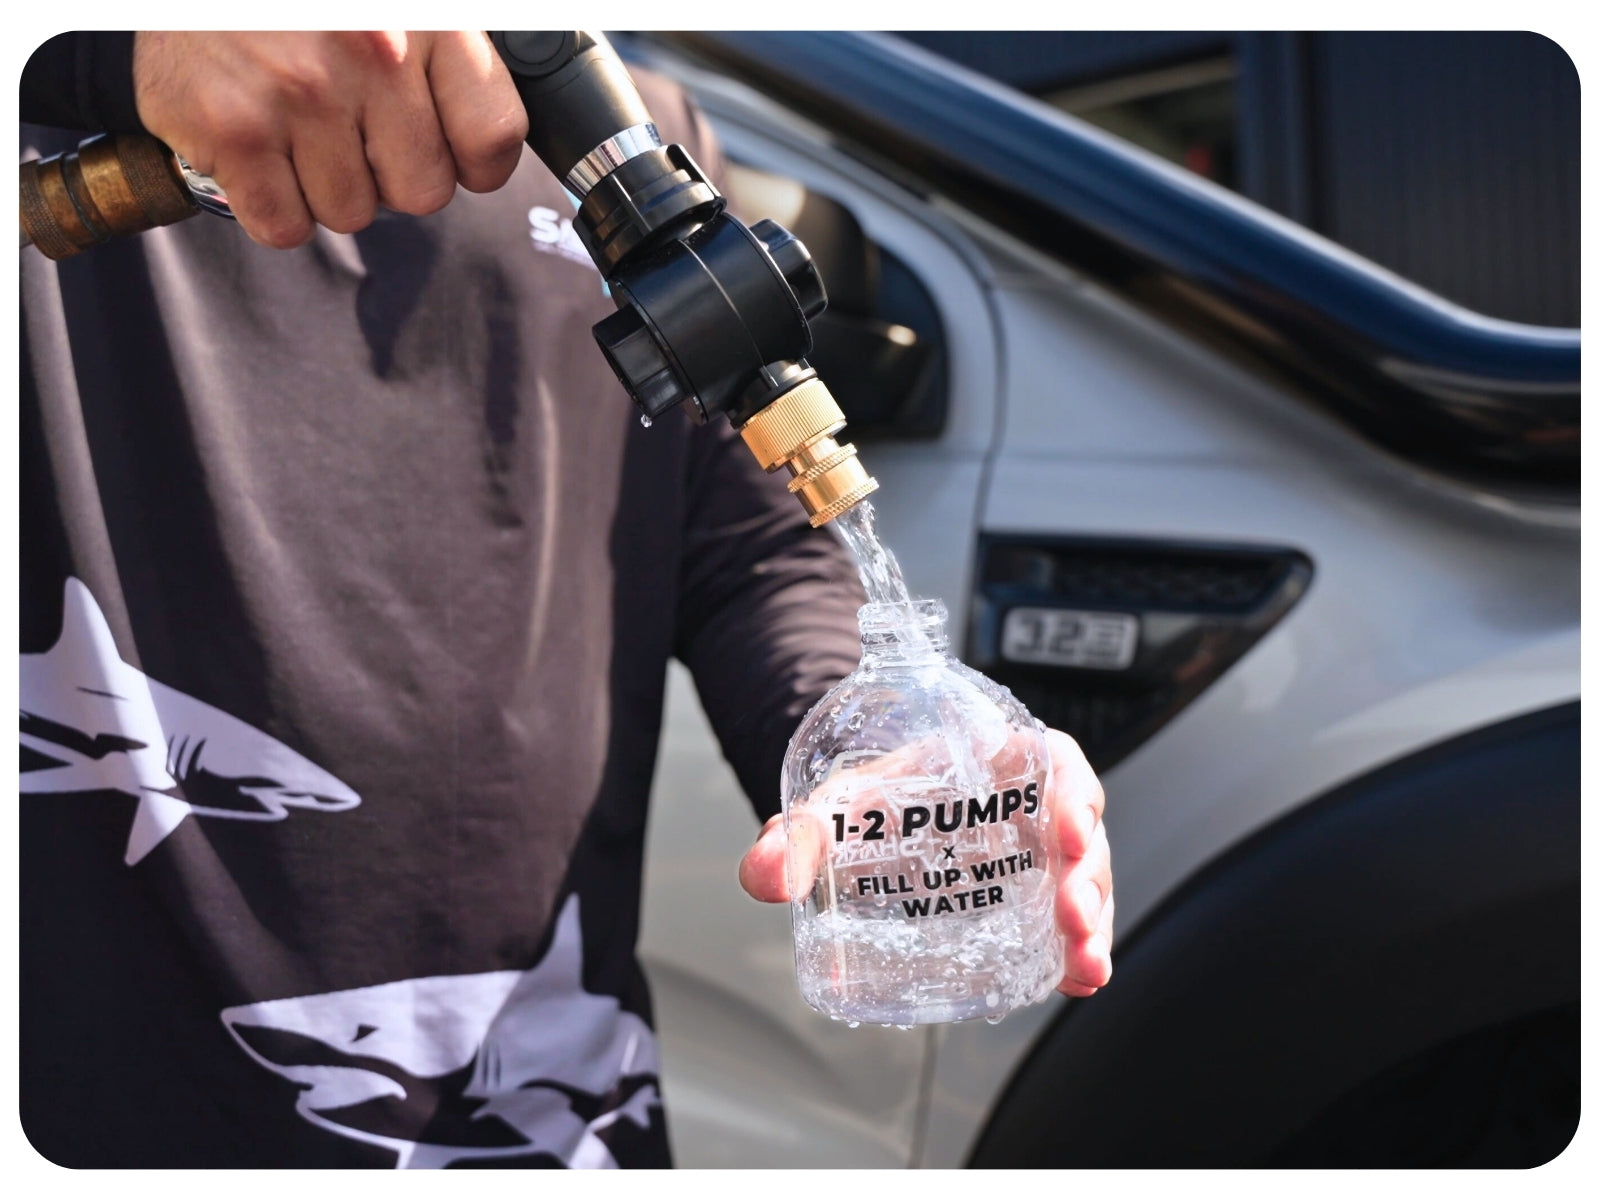
Fill up with fresh water

Follow the instructions printed on the container for how much fresh water to add.

Step-by-step photo: pumping Salt-Shark concentrate into the sprayer container
02

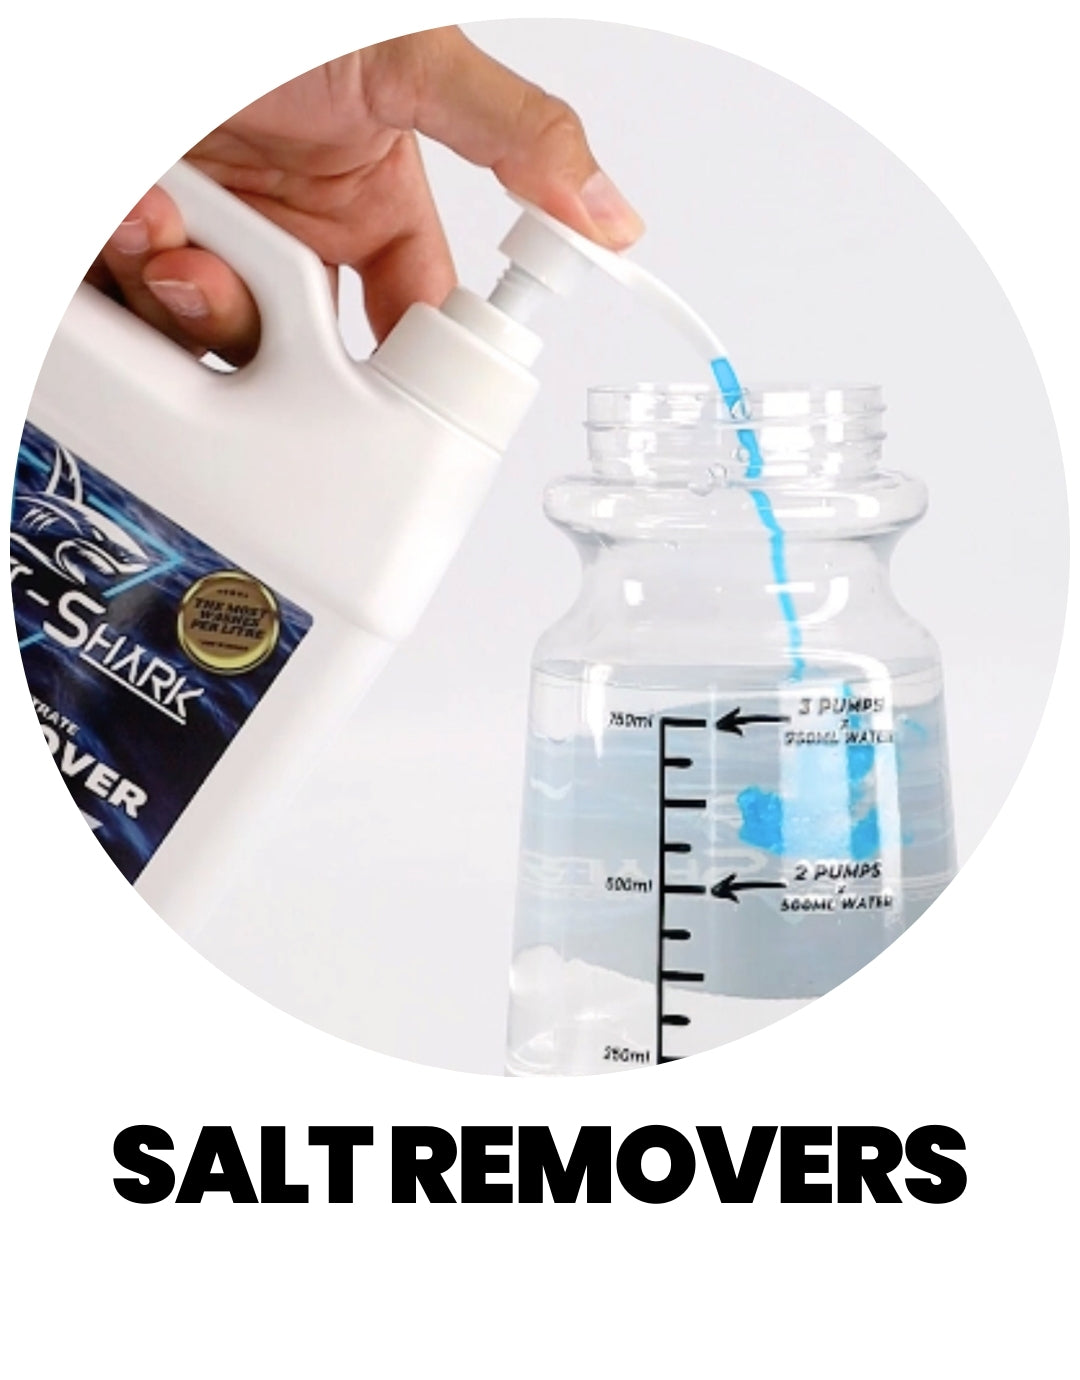
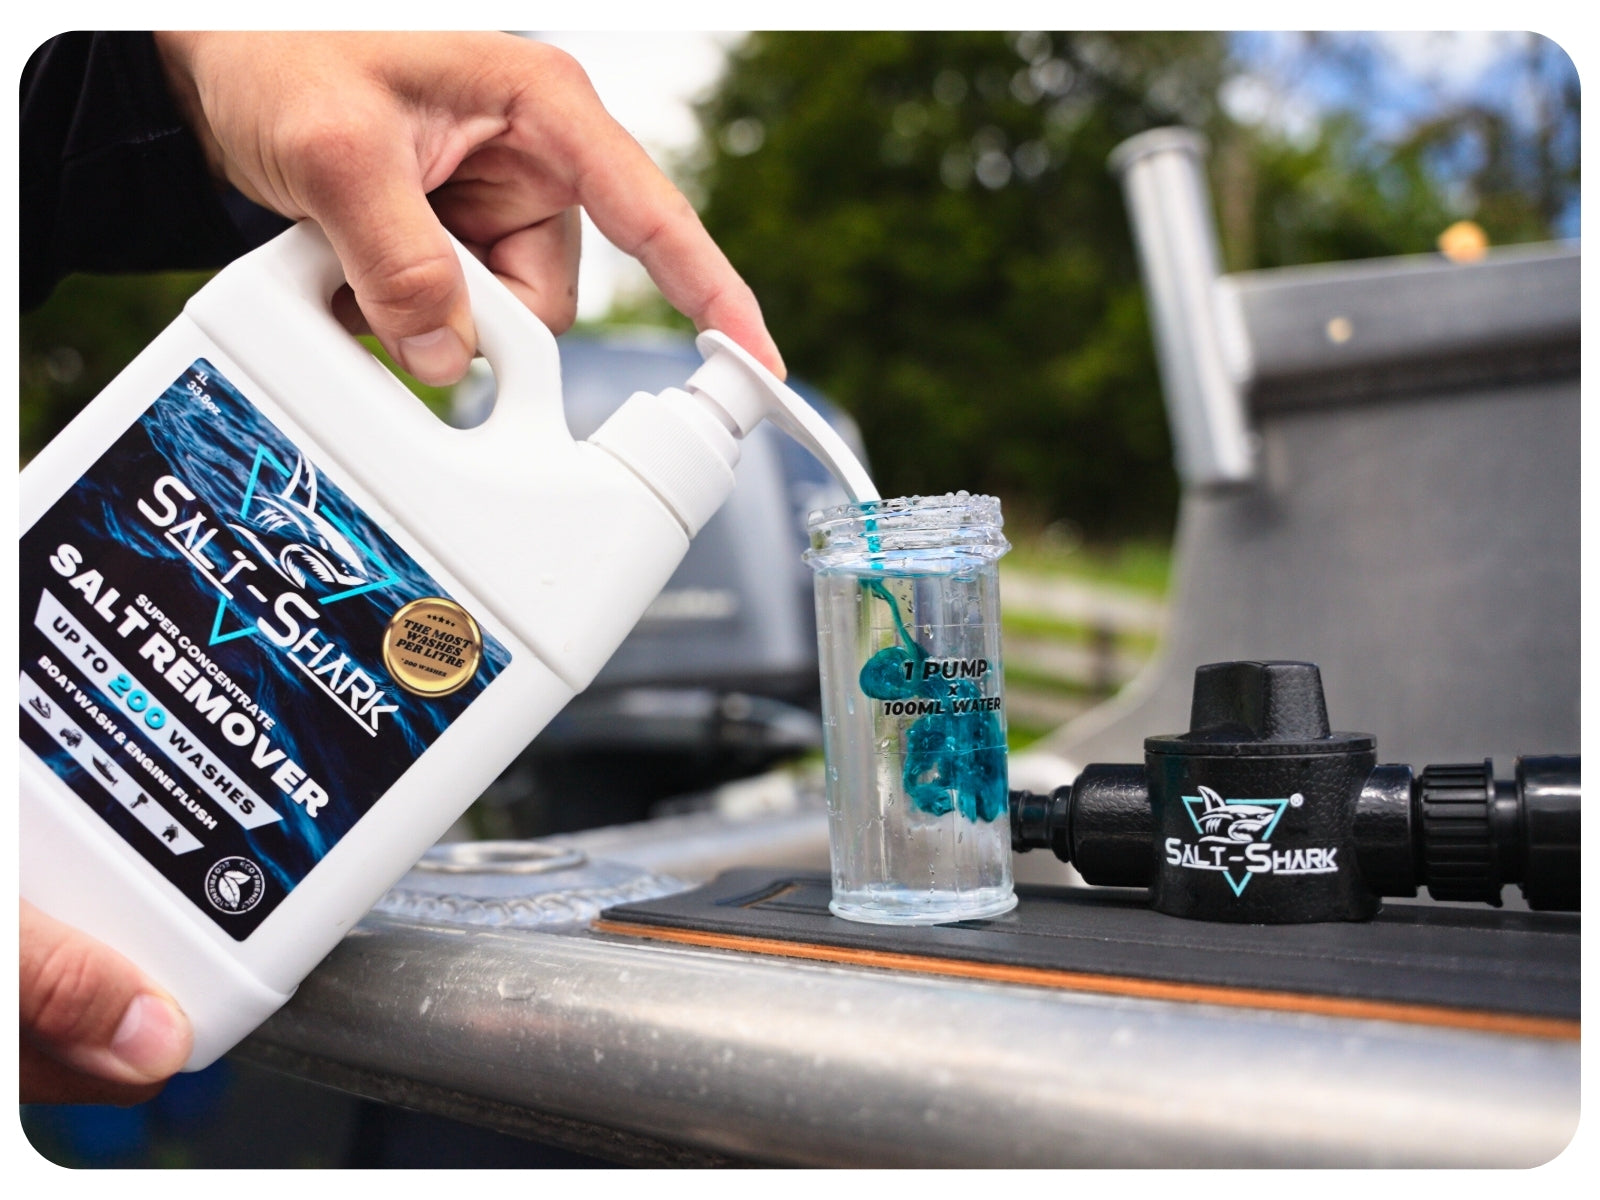
Pump

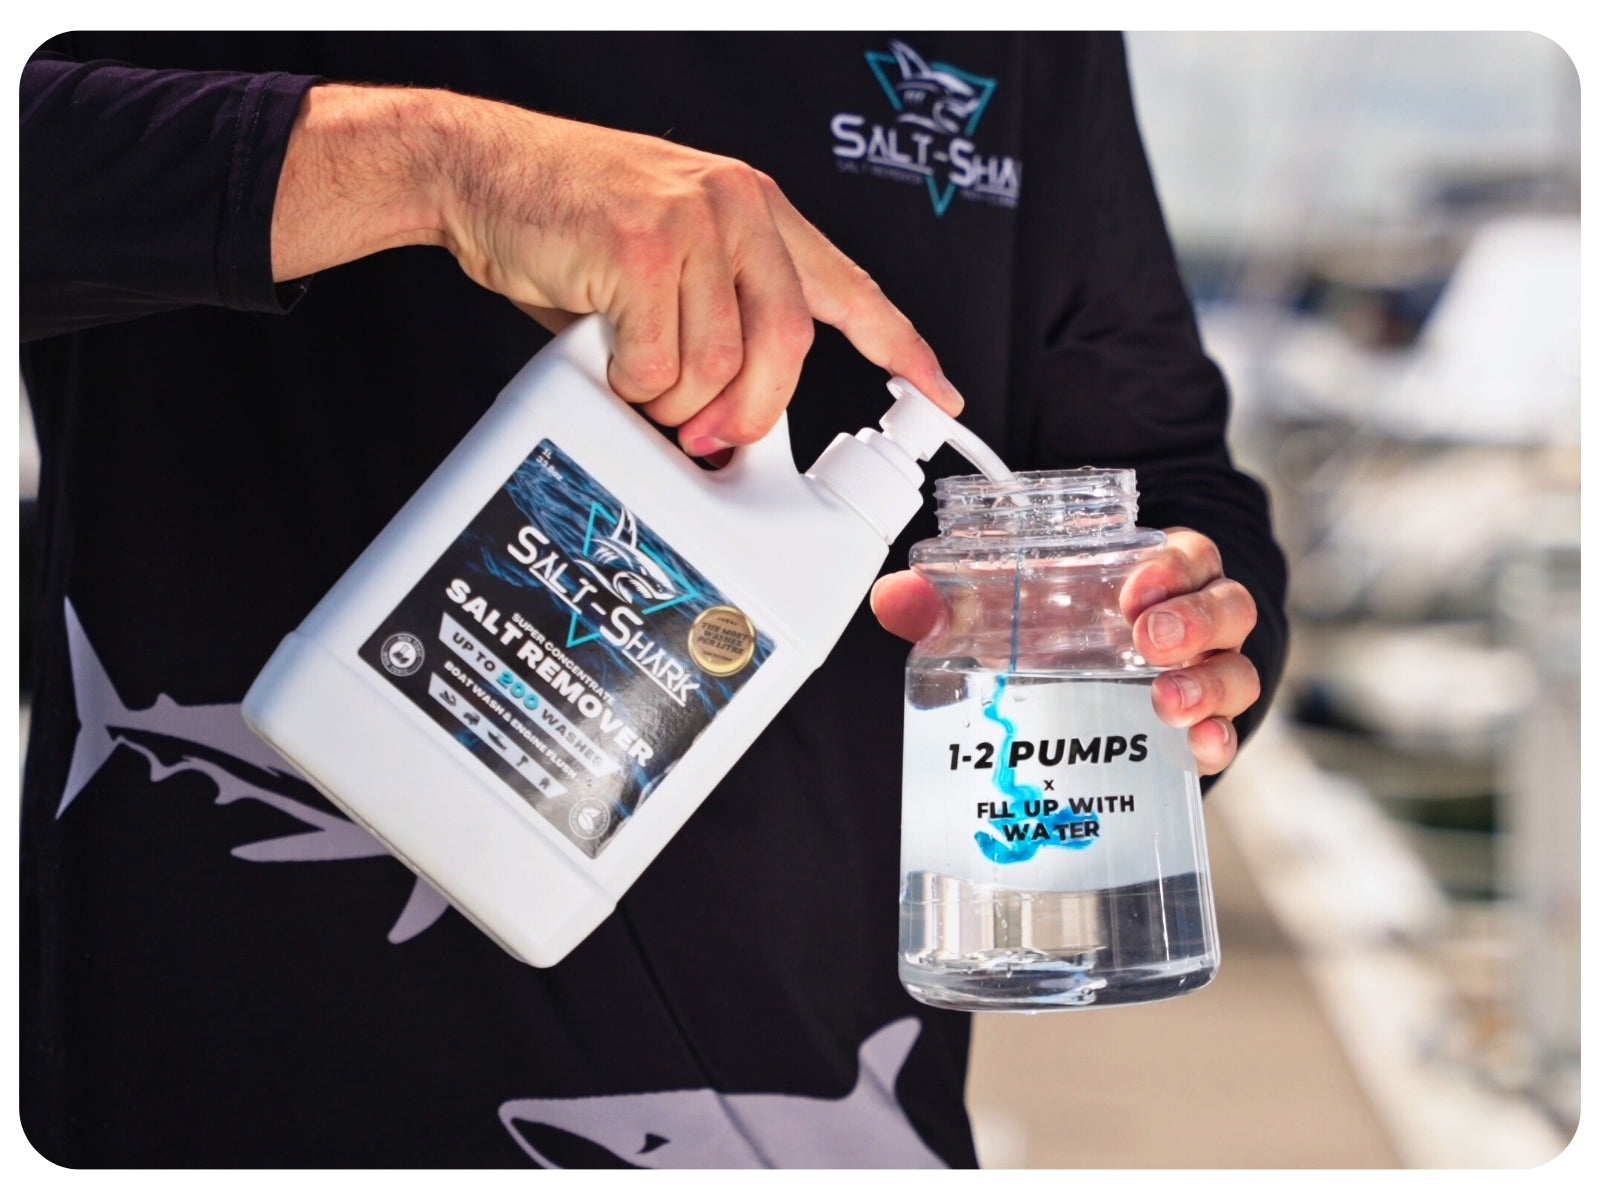
Following the instructions on the container, ad the appropriate amount of pumps of Salt-Shark for your needs.

Step-by-step photo: shaking the Salt-Shark sprayer container to mix the concentrate
03

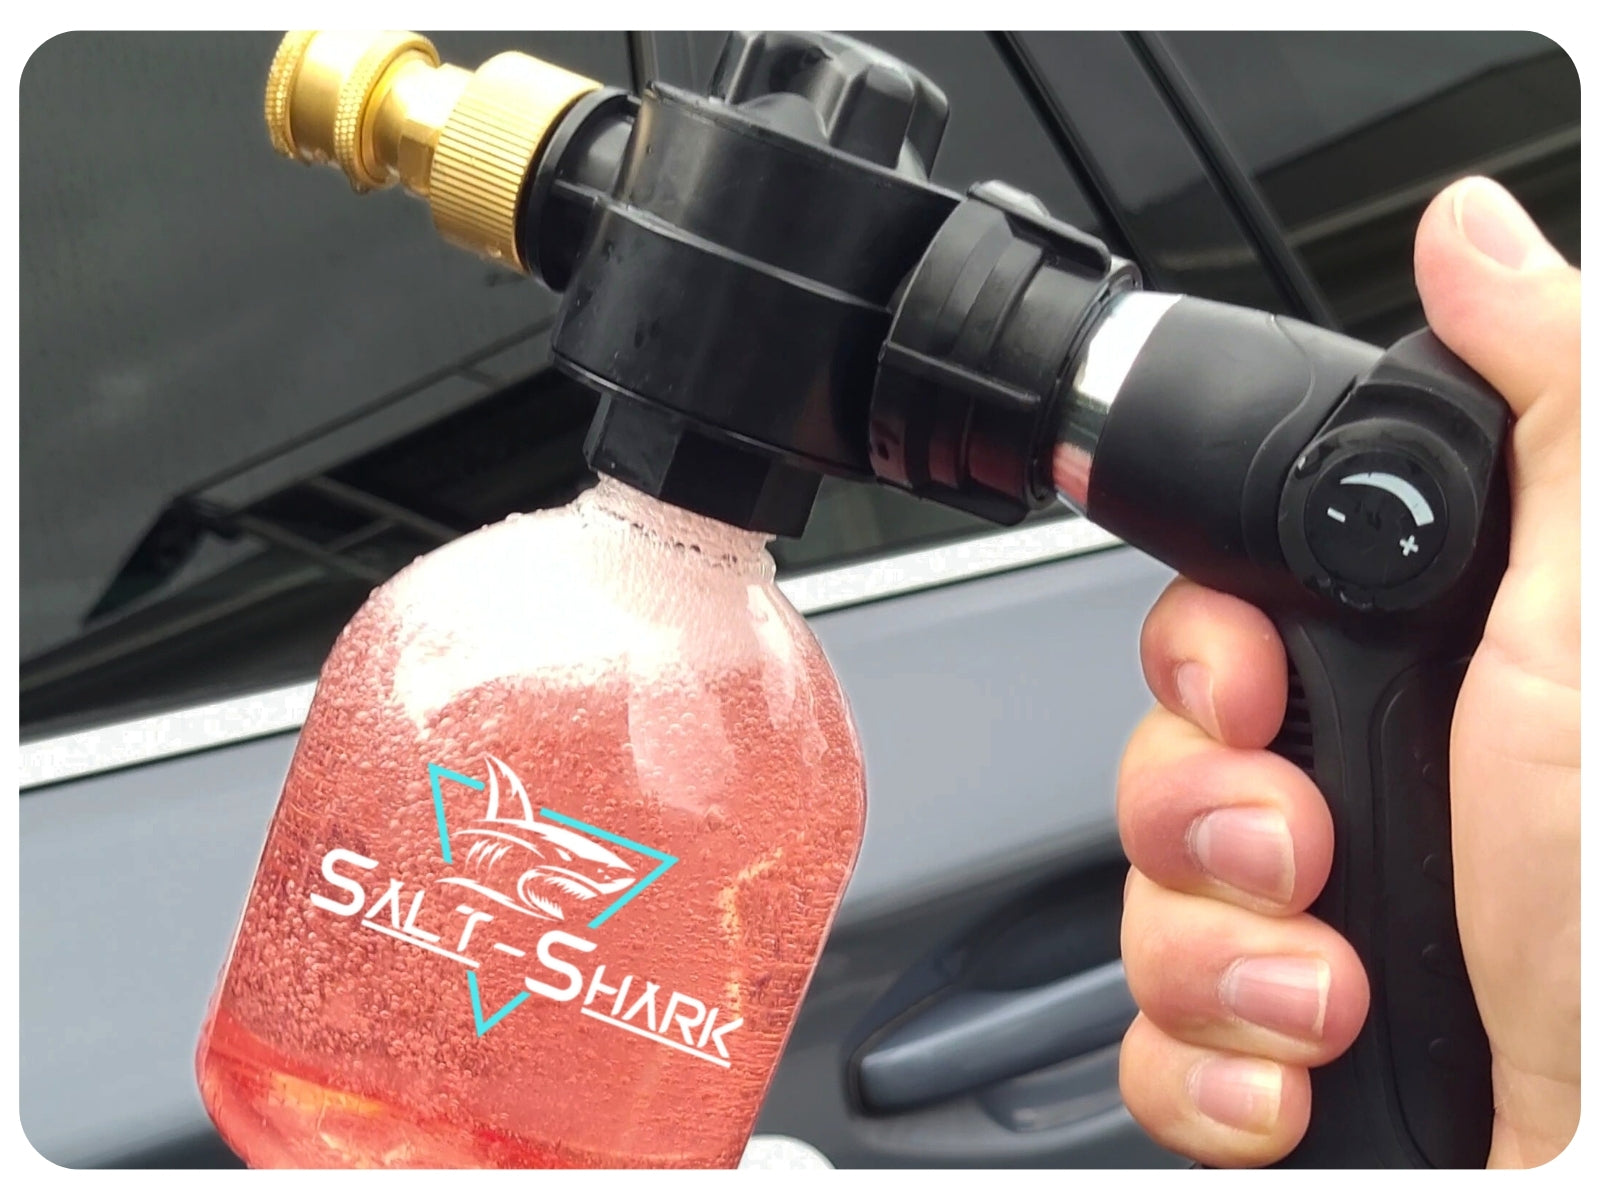
Shake

Make sure to give our thick concentrate a quick shake to mix with the fresh water. Shake until the water completely changes colour.

Step-by-step photo: spraying Salt-Shark salt remover onto a surface
04

Spray FOam

Turn the switch upwards to select foam mode and cover the entire surface. Just unclip the main body to rinse.

01

Fill up with fresh water

Follow the instructions printed on the container for how much fresh water to add.

02

Pump

Following the instructions on the container, ad the appropriate amount of pumps of Salt-Shark for your needs.

03

Shake

Make sure to give our thick concentrate a quick shake to mix with the fresh water. Shake until the water completely changes colour.

04

Spray FOam

Turn the switch upwards to select foam mode and cover the entire surface. Just unclip the main body to rinse.

Step-by-step photo: filling the Salt-Shark sprayer container with waterStep-by-step photo: pumping Salt-Shark concentrate into the sprayer containerStep-by-step photo: shaking the Salt-Shark sprayer container to mix the concentrateStep-by-step photo: spraying Salt-Shark salt remover onto a surface

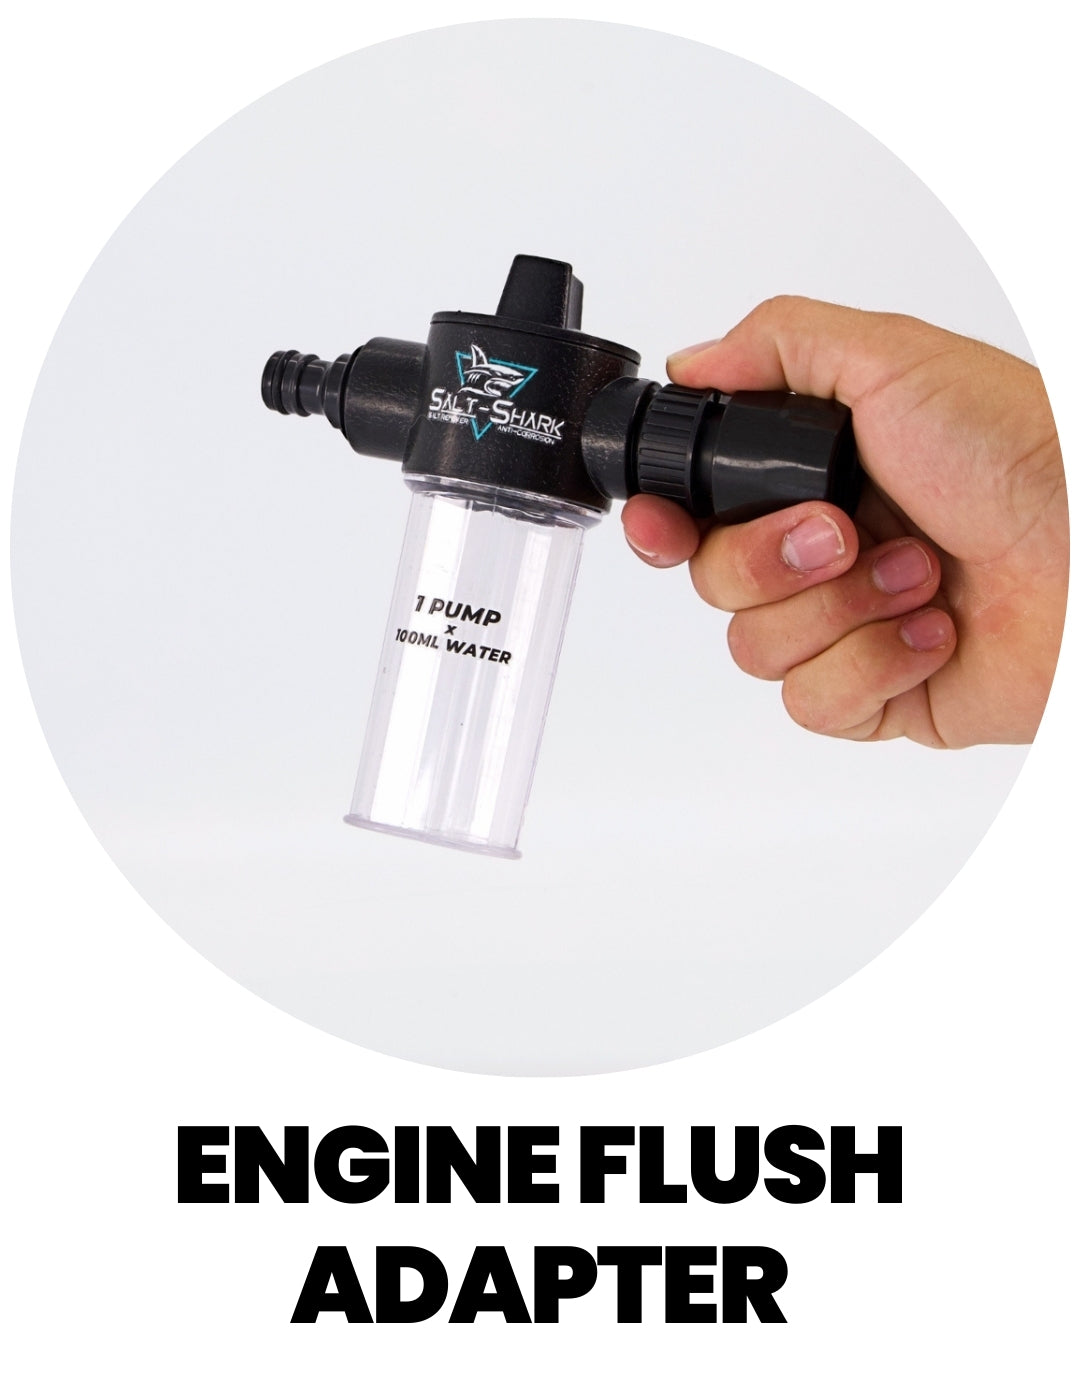
ENGINE FLUSH ADAPTER

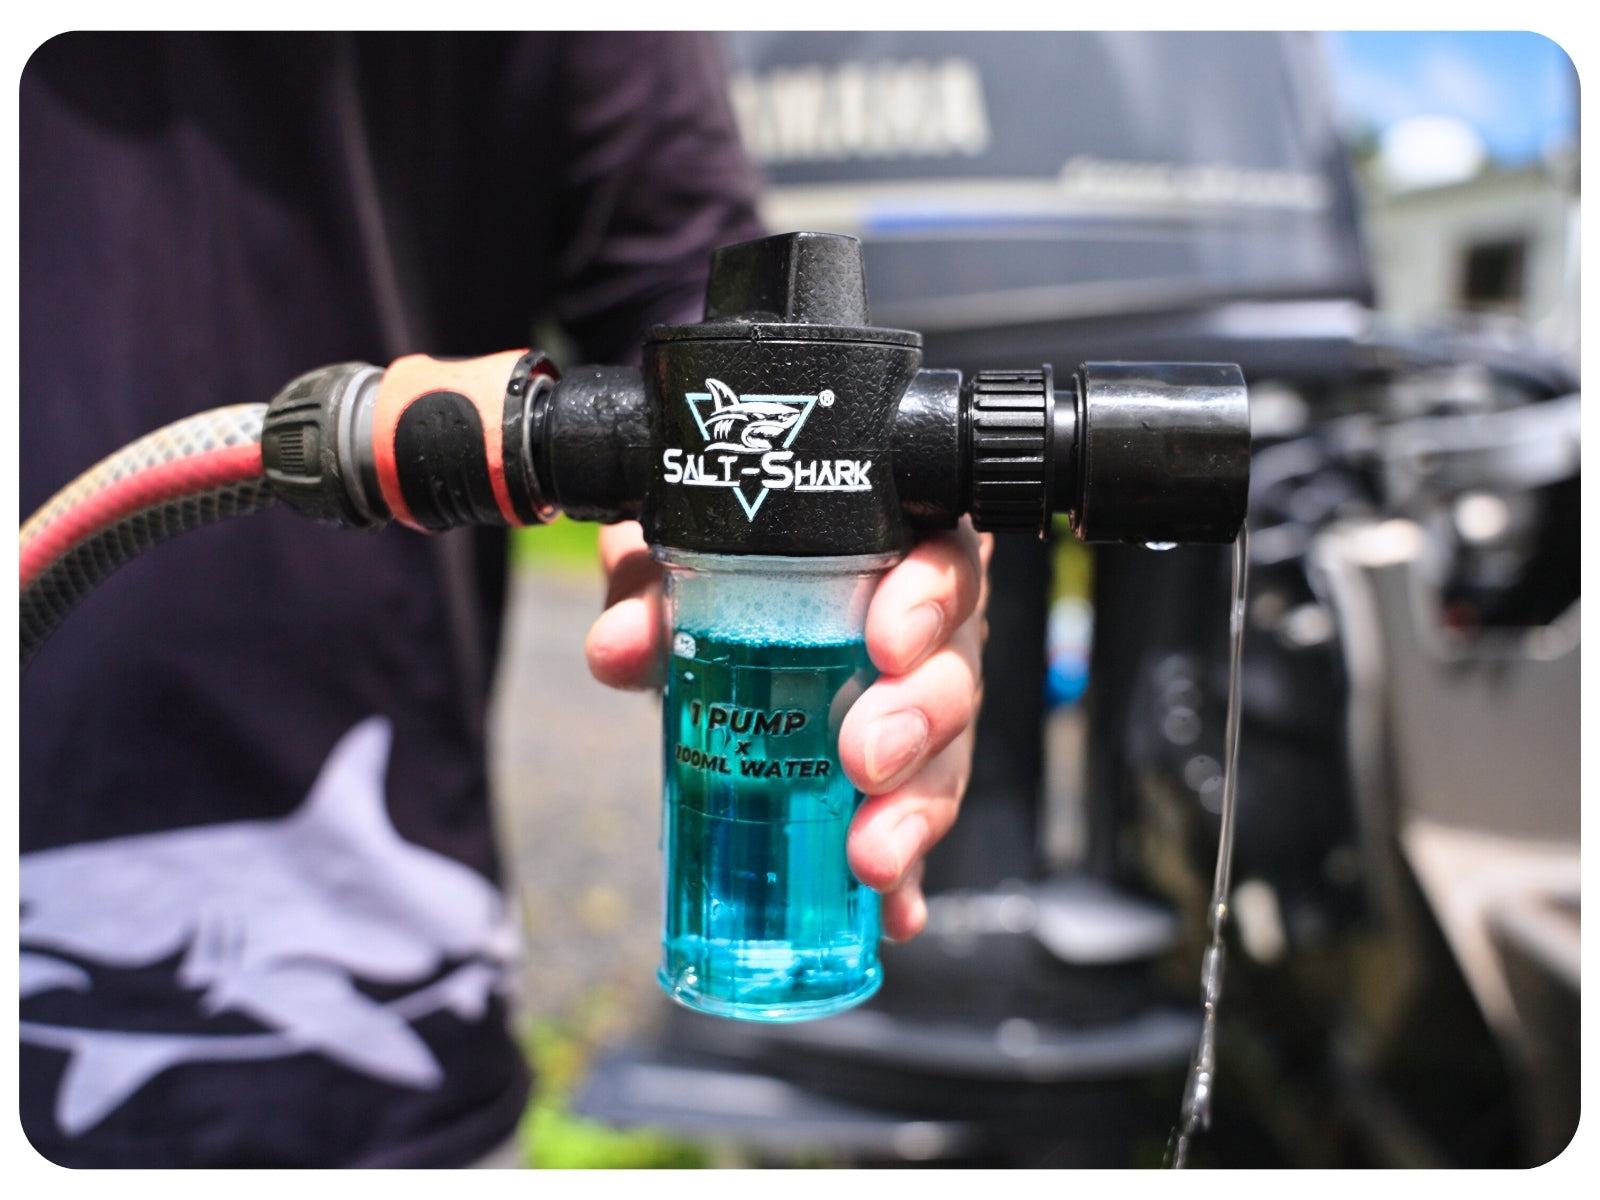
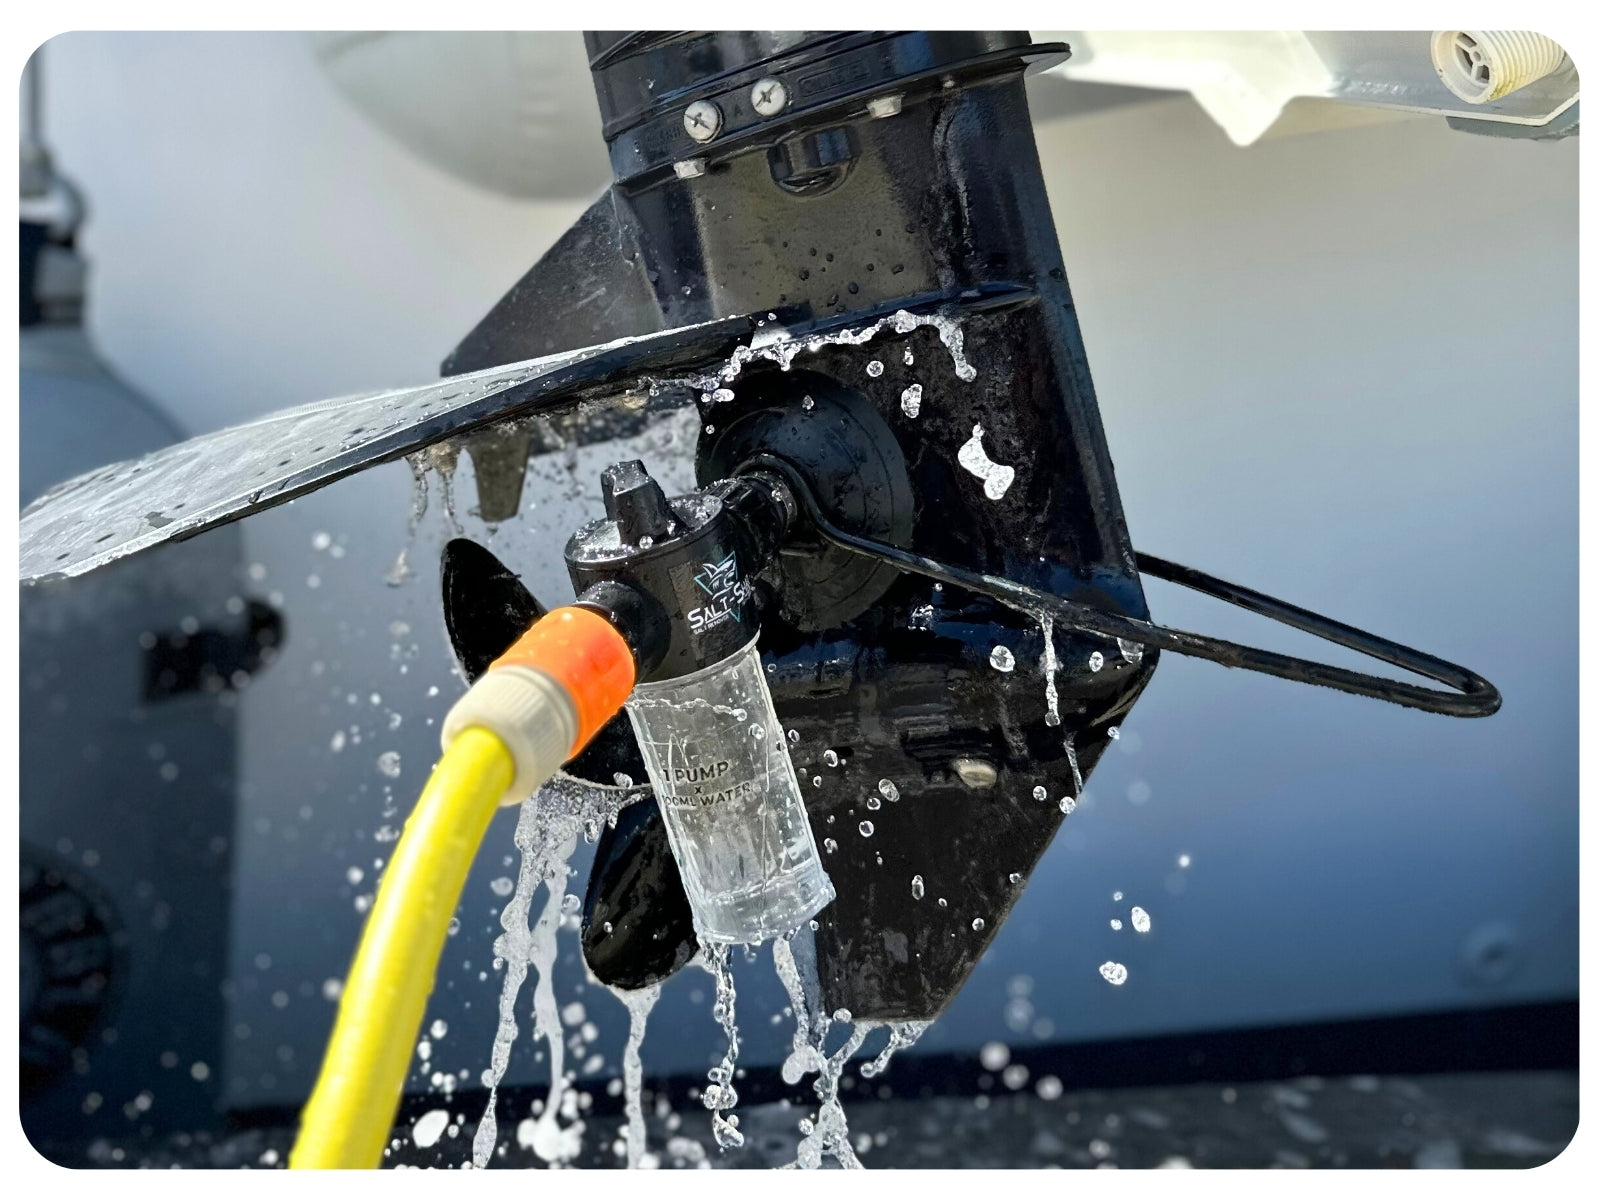
This attachment is all you need to access the benefits of our super-concentrated formula when flushing your outboard engine.

SHOP NOW
Step-by-step photo: filling the Salt-Shark Engine Flush Adapter with water and concentrate
01

Fill with fresh water

Fill up the Engine Flush Adaptor container with fresh water.

Step-by-step photo: pumping Salt-Shark concentrate into the Engine Flush Adapter
02

Pump

Put just one pump of Salt-Shark in the container full of fresh water.

Step-by-step photo: shaking the Salt-Shark Engine Flush Adapter to mix the concentrate
03

Shake

Make sure to give our thick concentrate a quick shake to mix with the fresh water. Shake until the water completely changes colour.

Step-by-step photo: plugging the Salt-Shark Engine Flush Adapter into an outboard motor
04

Attach to engine

Attach a freshwater hose to the adaptor and then attach to your engine either through flusher muffs or directly to your motor.

Step-by-step photo: plugging the Salt-Shark Engine Flush Adapter into an outboard motor
05

Flush Engine

Turn the adapter onto the water setting, once the motor is running, switch to your desired soap setting. Either small medium or large dot. This will flush for around 30sec which is all that you need with Salt-Shark to remove the sea salt. Flush until the container goes clear leaving only fresh water inside the motor.
*Note, the diluted Salt-Shark is safe to leave inside your motor. However, there is no need to do this so we recommend leaving only fresh water.

01

Fill with fresh water

Fill up the Engine Flush Adaptor container with fresh water.

02

Pump

Put just one pump of Salt-Shark in the container full of fresh water.

03

Shake

Make sure to give our thick concentrate a quick shake to mix with the fresh water. Shake until the water completely changes colour.

04

Attach to engine

Attach a freshwater hose to the adaptor and then attach to your engine either through flusher muffs or directly to your motor.

05

Flush Engine

Turn the adapter onto the water setting, once the motor is running, switch to your desired soap setting. Either small medium or large dot. This will flush for around 30sec which is all that you need with Salt-Shark to remove the sea salt. Flush until the container goes clear leaving only fresh water inside the motor.
*Note, the diluted Salt-Shark is safe to leave inside your motor. However, there is no need to do this so we recommend leaving only fresh water.

Step-by-step photo: filling the Salt-Shark Engine Flush Adapter with water and concentrateStep-by-step photo: pumping Salt-Shark concentrate into the Engine Flush AdapterStep-by-step photo: shaking the Salt-Shark Engine Flush Adapter to mix the concentrateStep-by-step photo: plugging the Salt-Shark Engine Flush Adapter into an outboard motorStep-by-step photo: plugging the Salt-Shark Engine Flush Adapter into an outboard motor

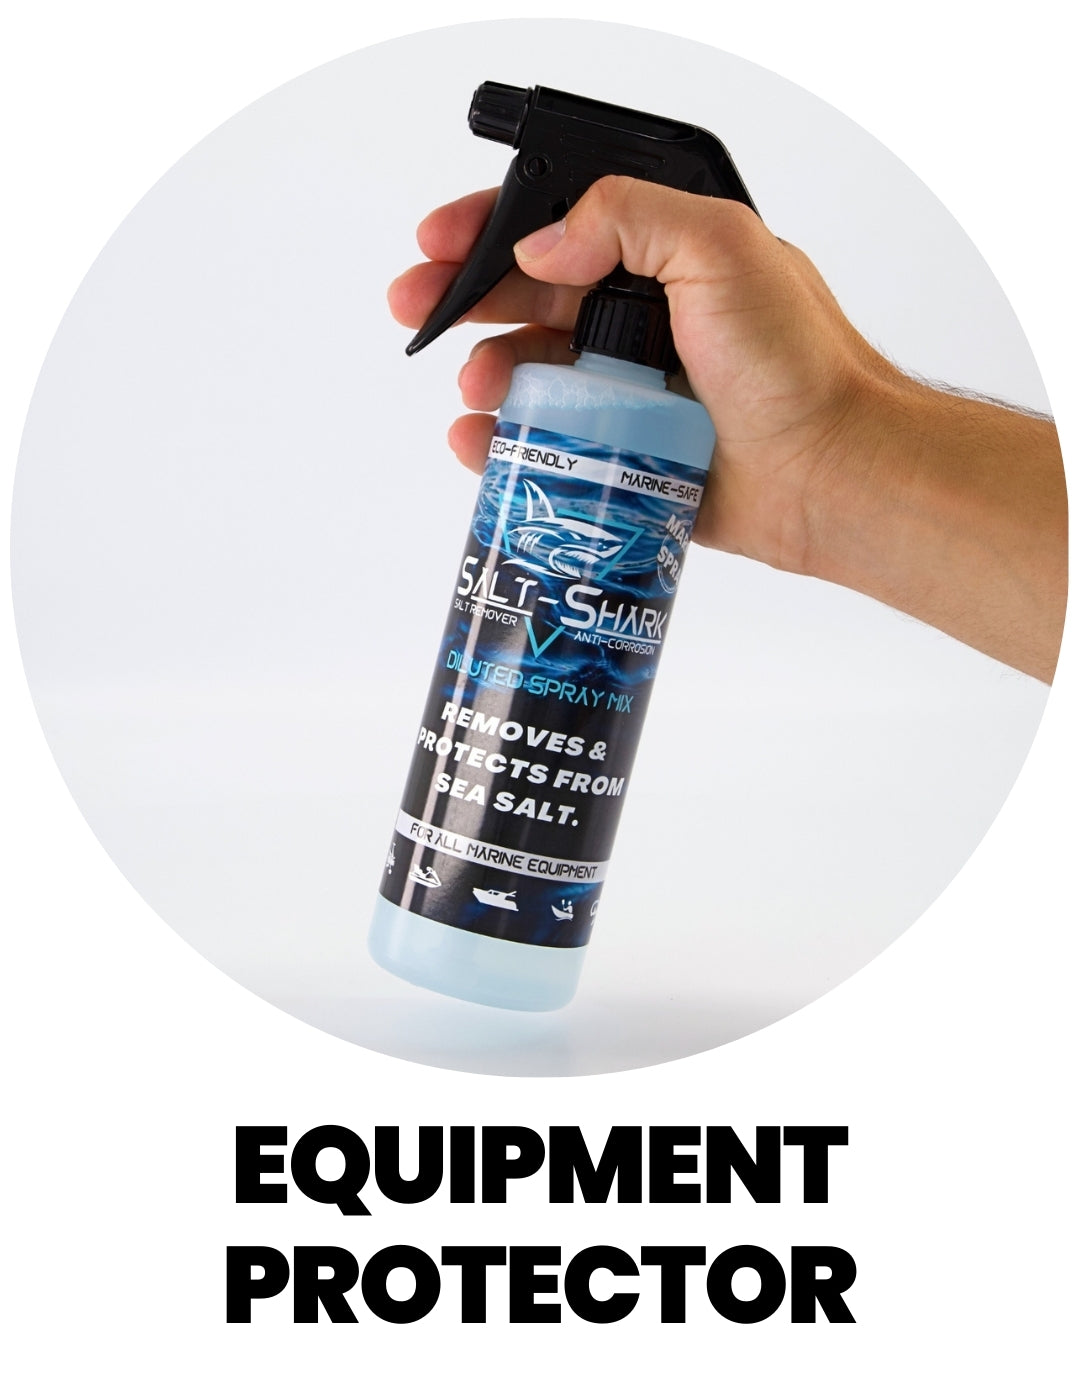
EQUIPMENT PROTECTOR

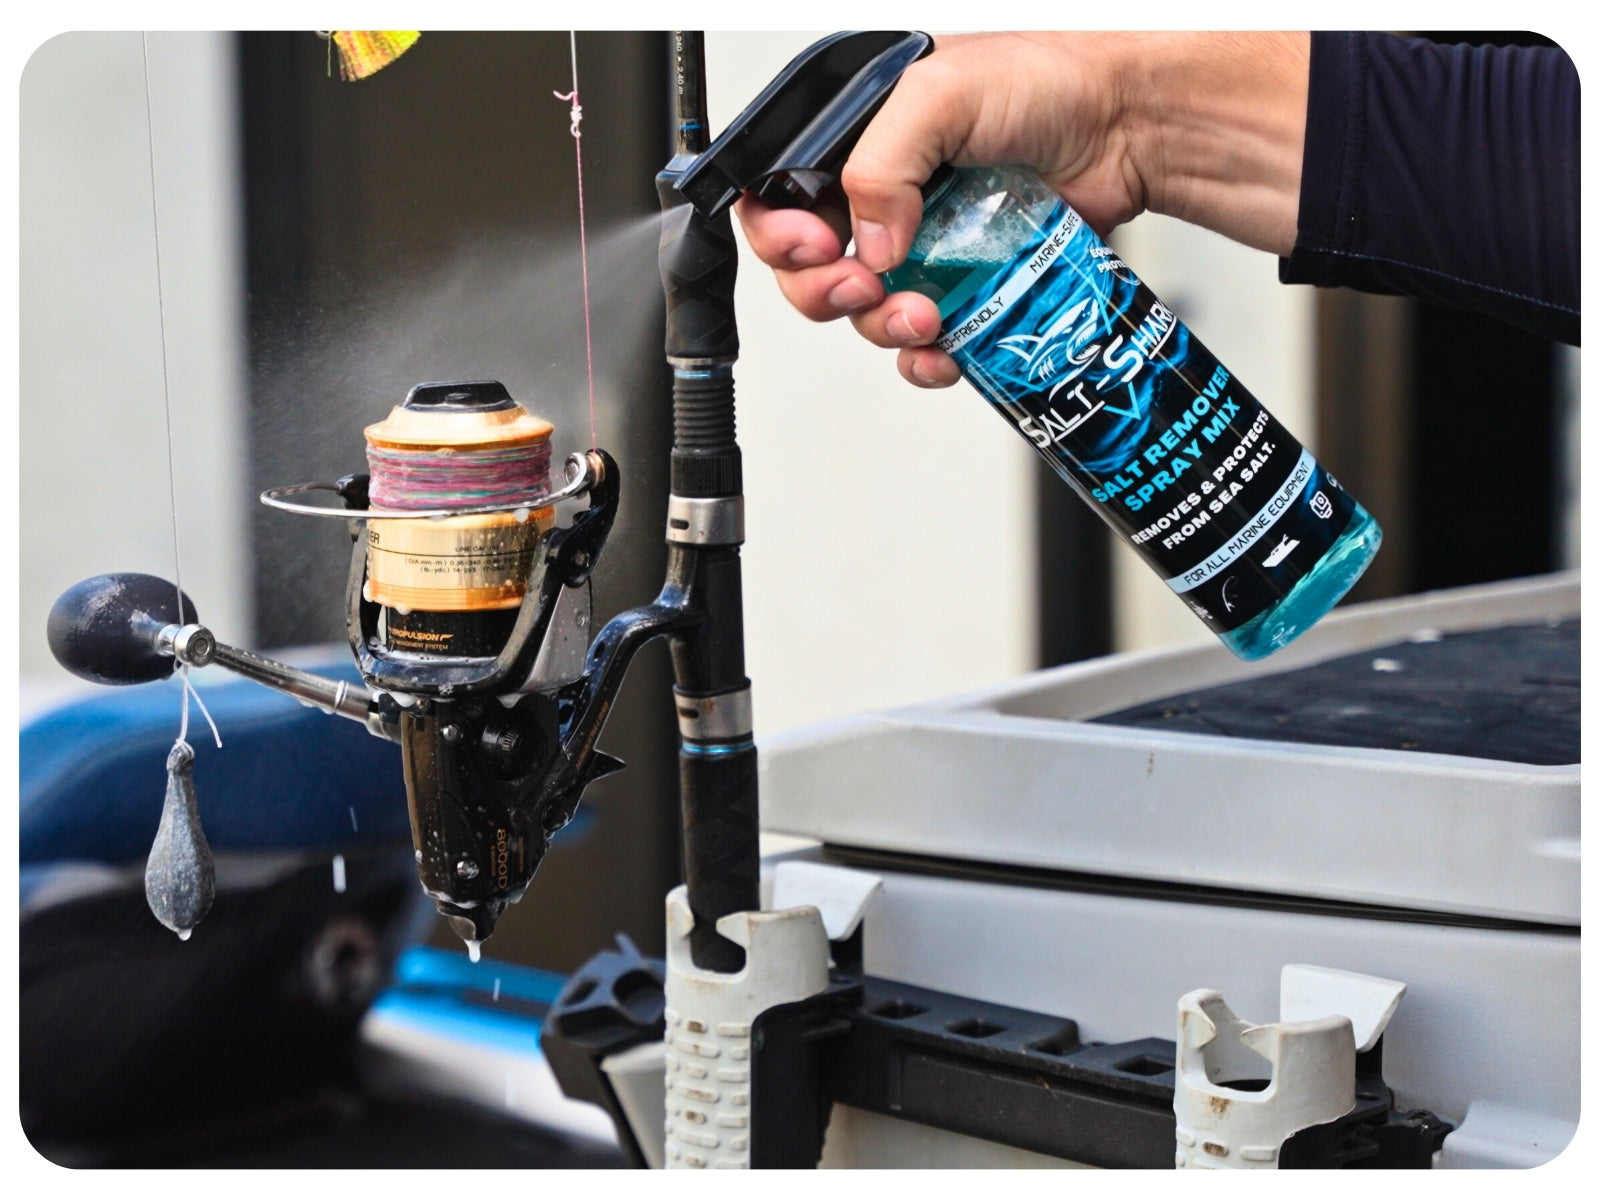
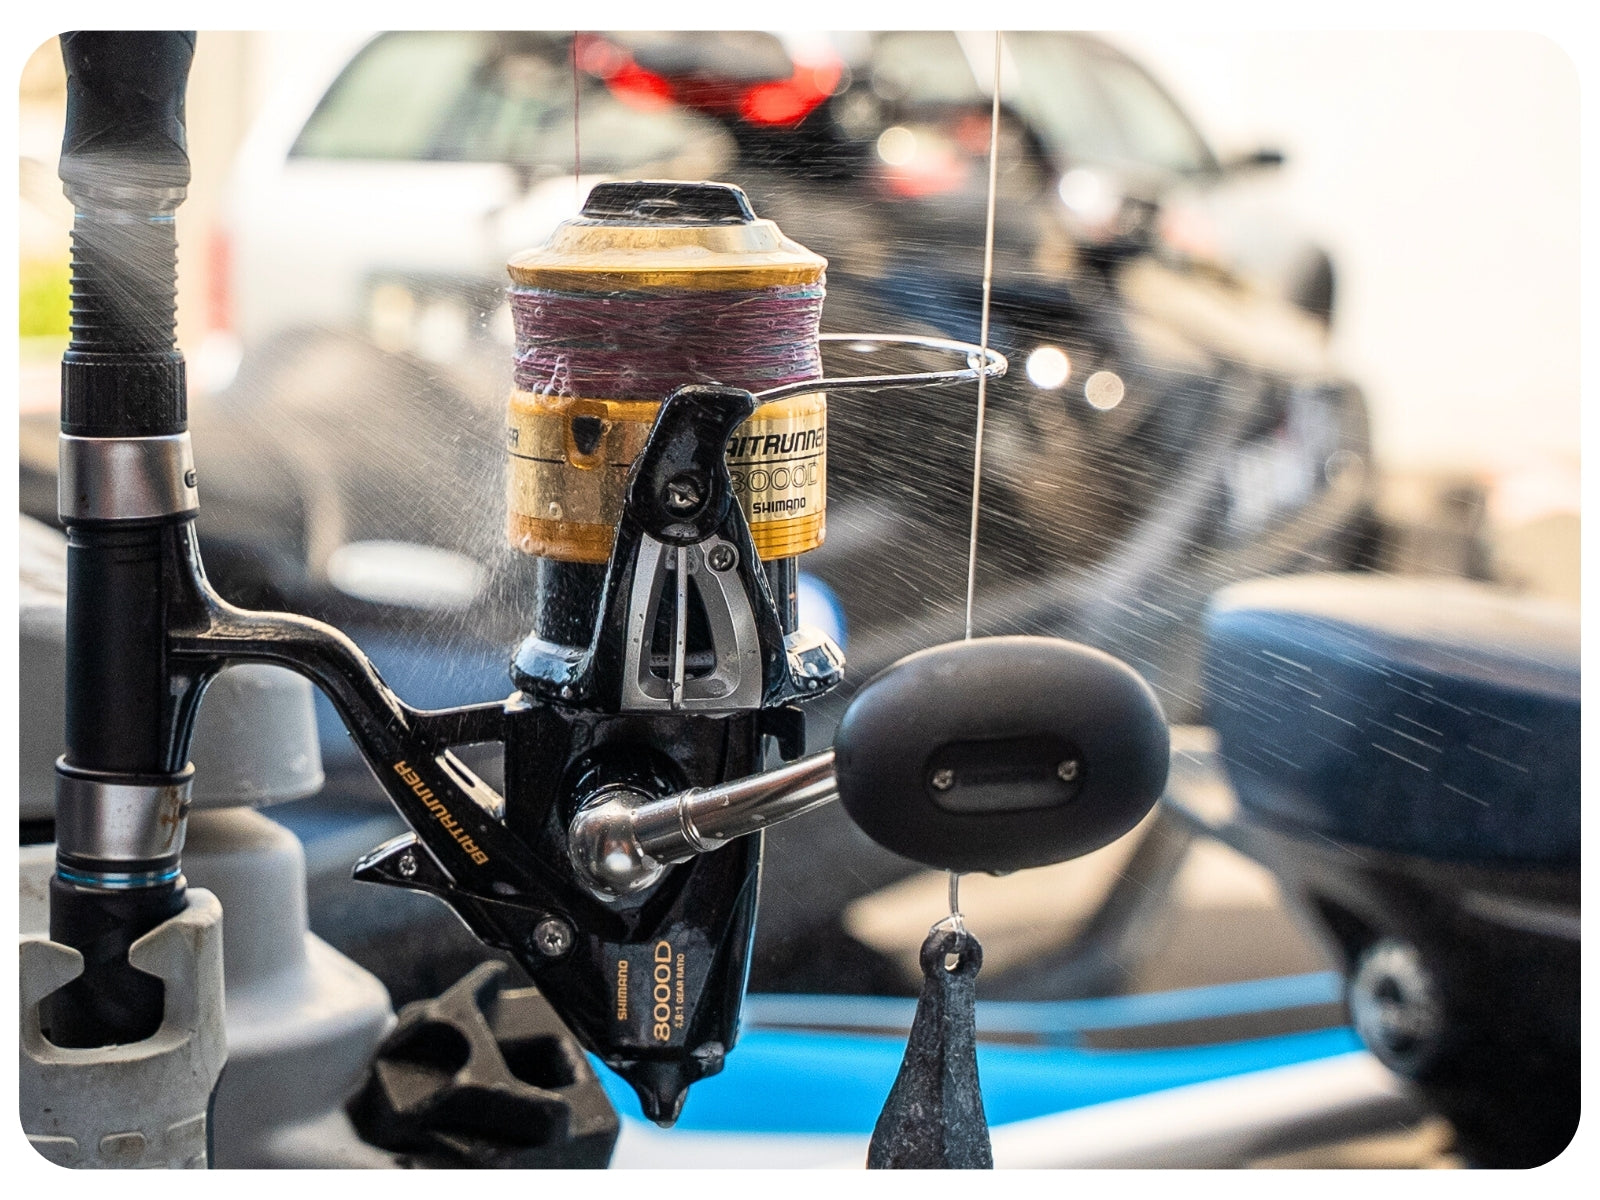
Salt-Shark Equipment Protector is simply the best value spray around. Ideal for all fishing, snorkelling, surfing and any marine-related equipment that is not to be washed with high hose pressure.

SHOP NOW
Step-by-step photo: spraying Salt-Shark Equipment Protector on fishing or dive gear
01

Spray Equipment

Spray the ready-mix solution onto your salty equipment. Salt-Shark Equipment Protector can be used safely on all surfaces exposed to salt. It won’t strip wax or bond to surfaces.

Step-by-step photo: rinsing gear after applying Salt-Shark Equipment Protector
02

Rinse

Let the solution soak on your equipment for 30 seconds then rinse well with fresh water.

01

Spray Equipment

Spray the ready-mix solution onto your salty equipment. Salt-Shark Equipment Protector can be used safely on all surfaces exposed to salt. It won’t strip wax or bond to surfaces.

02

Rinse

Let the solution soak on your equipment for 30 seconds then rinse well with fresh water.

Step-by-step photo: spraying Salt-Shark Equipment Protector on fishing or dive gearStep-by-step photo: rinsing gear after applying Salt-Shark Equipment Protector

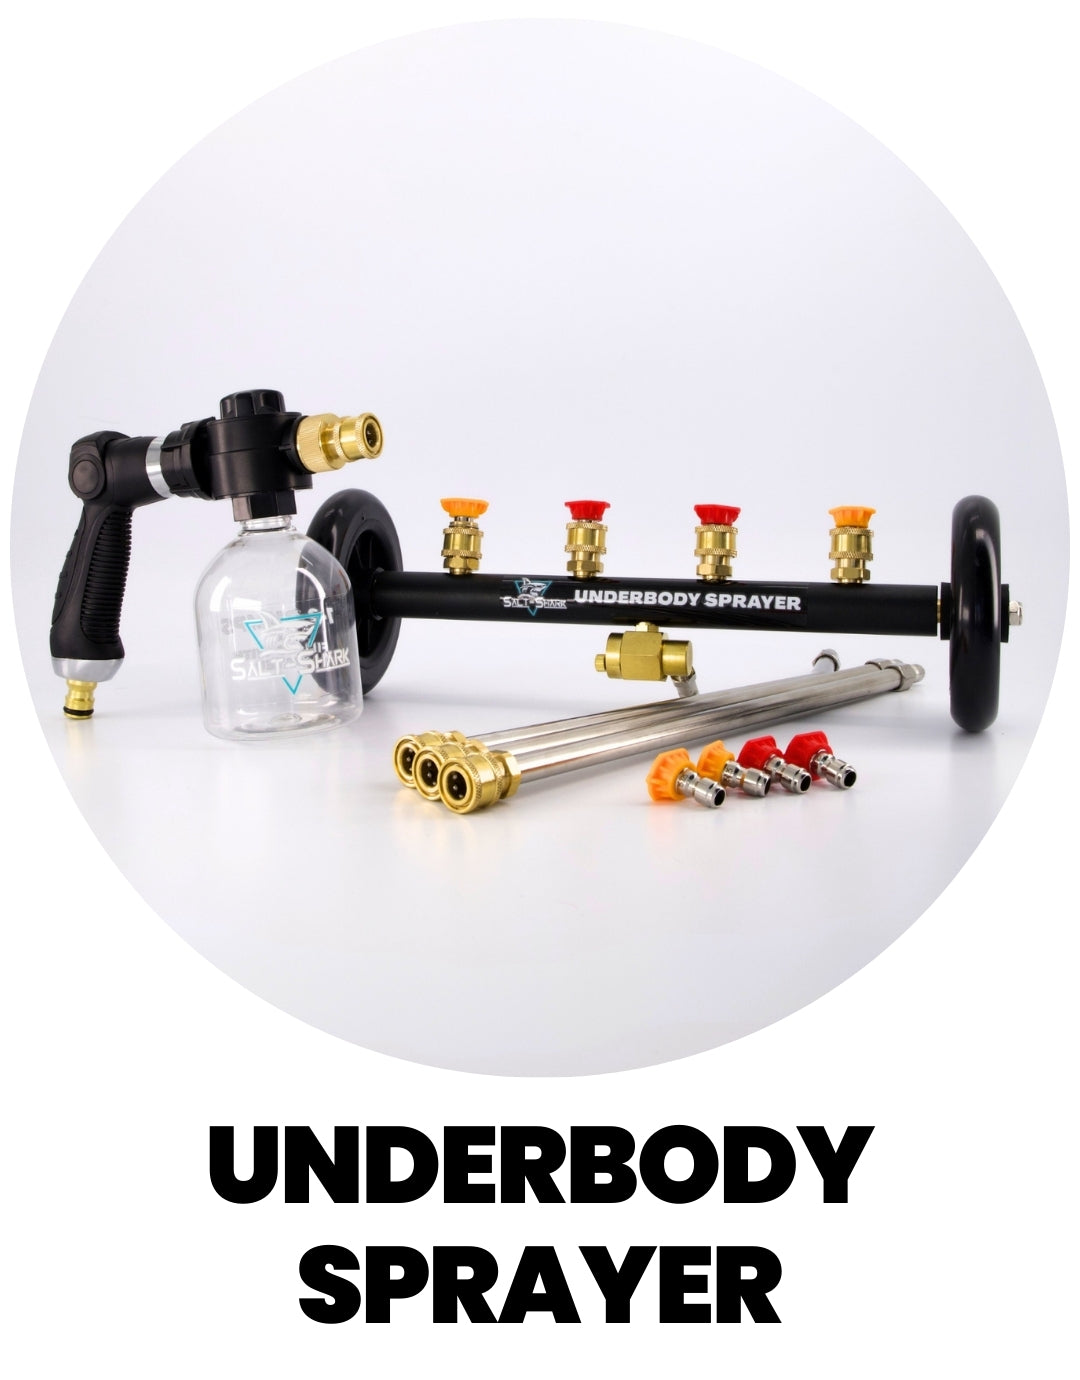
Underbody Sprayer

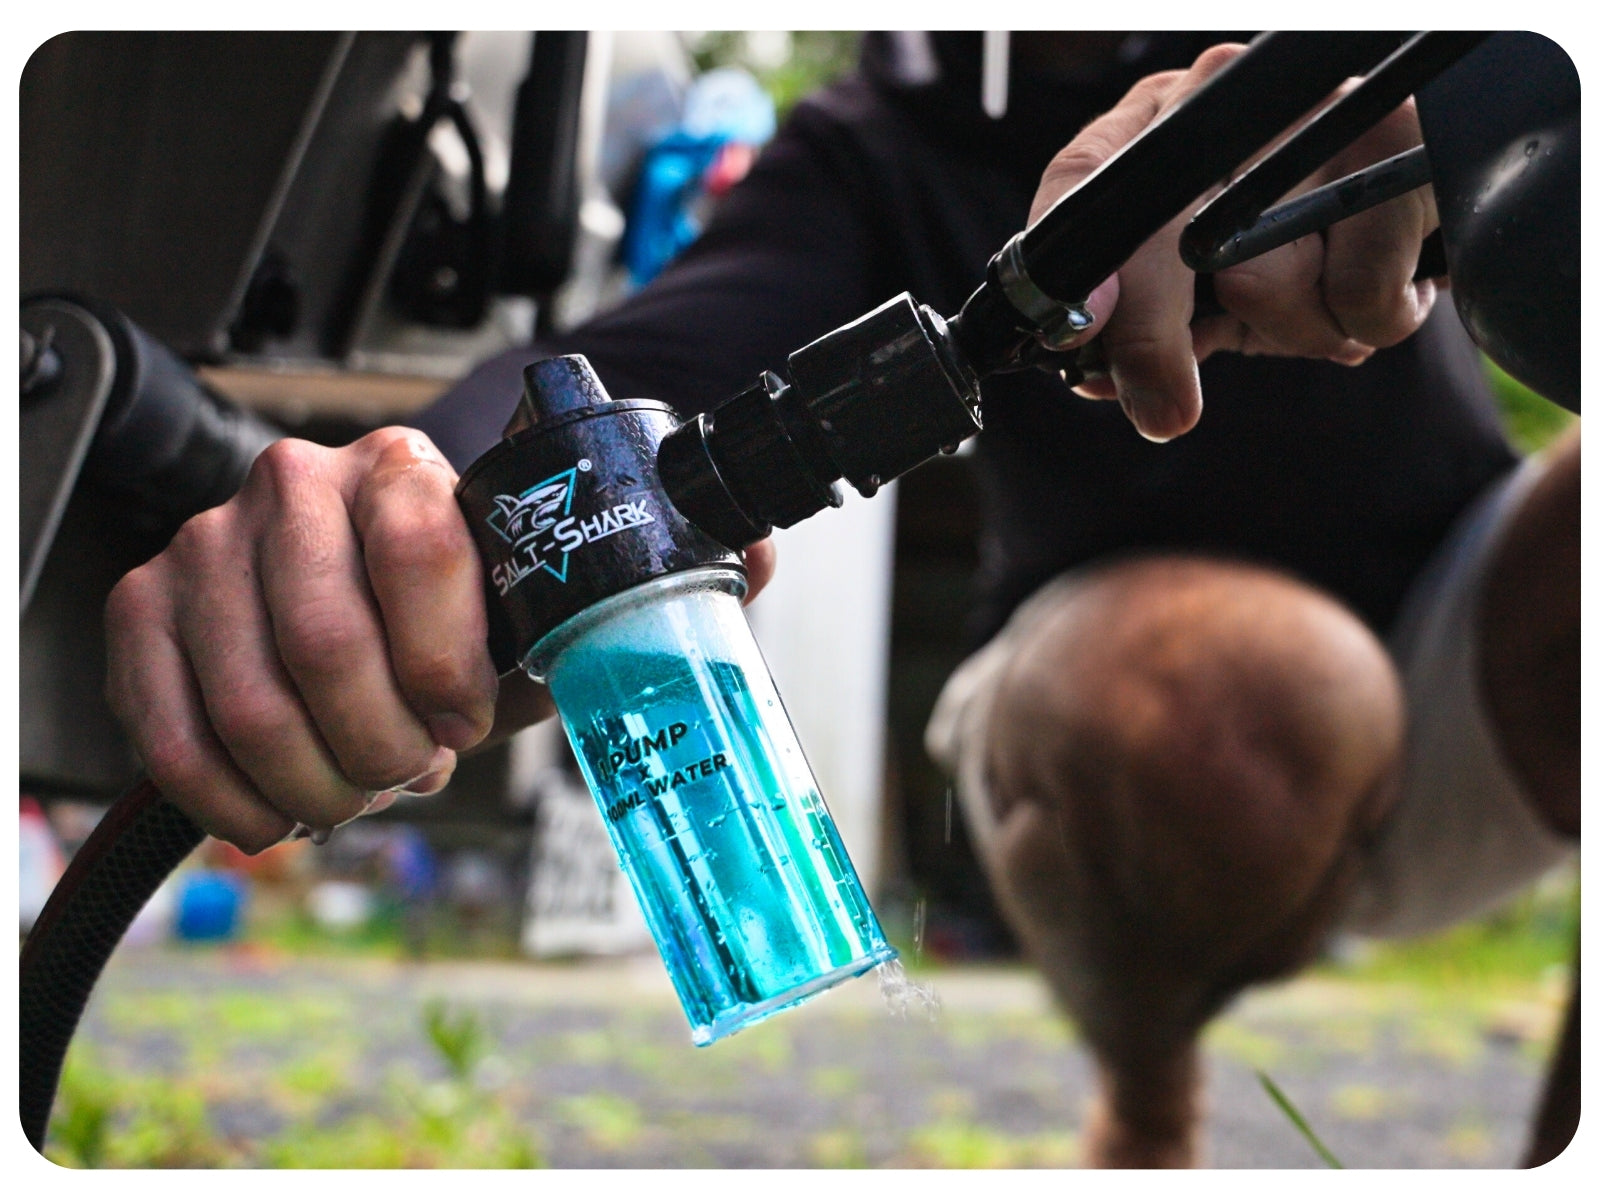
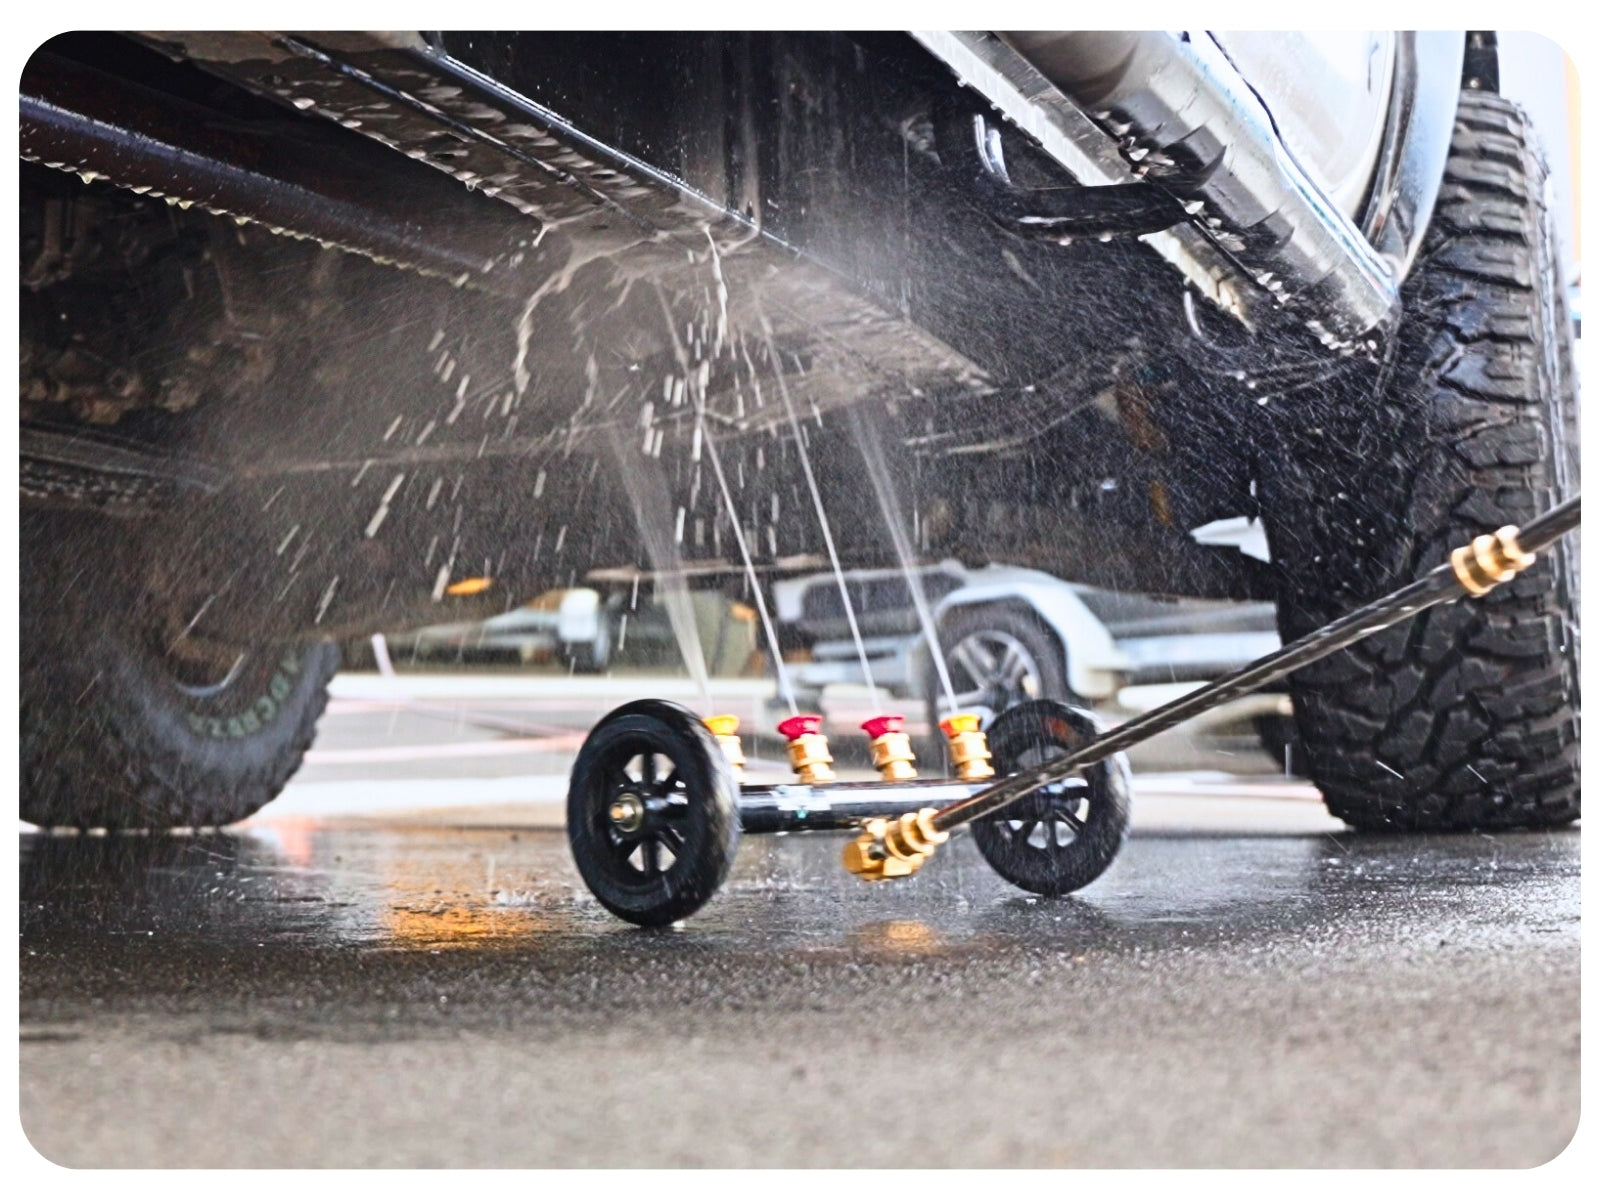
The Salt-Shark Underbody Sprayer is a world first. The first ever garden hose suitable vehicle underbody sprayer. Made out of high quality stainless steel and brass, this sprayer aligns perfectly with our world leading value Salt Remover Formulas.

BUY NOW
Step-by-step photo: clipping the extension pole onto the Salt-Shark Underbody Sprayer
01

Screw together

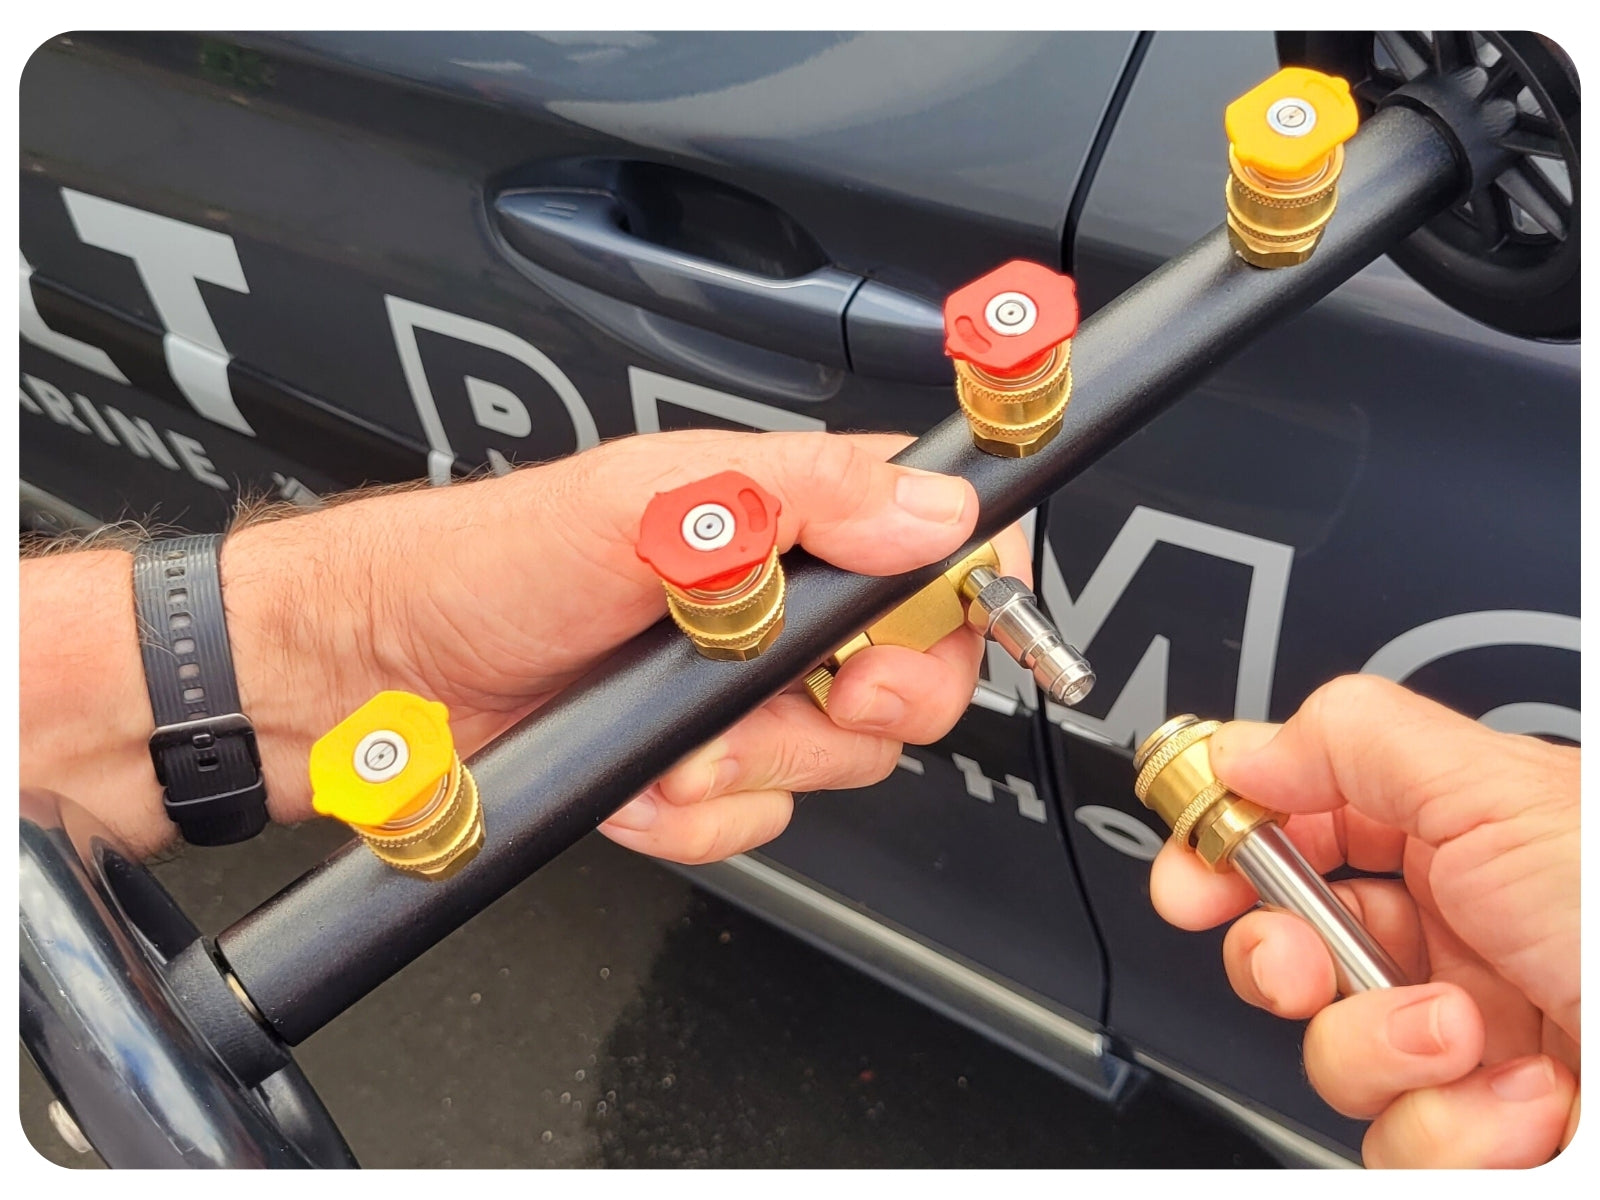
Screw the 2 pieces of the sprayer together.
"Lefty loosy, righty tighty"

Step-by-step photo: clipping the extension pole onto the Salt-Shark Underbody Sprayer, alternate angle
02

Clip together

Clip the stainless steel poles together by pulling the brass clip back whilst inserting onto the corresponding piece.

Step-by-step photo: filling the Salt-Shark Underbody Sprayer container with water
03

Fill with fresh water

Fill up the container with fresh water, following the simply instructions on the container.

Step-by-step photo: pumping the Salt-Shark Underbody Sprayer container
04

Pump

Following the simply instructions on the container, put one or 2 pumps of the Salt-Shark Vehicle Salt Remover into the container.

Step-by-step photo: shaking the Salt-Shark Underbody Sprayer container to mix the concentrate
05

Shake

Make sure to give our thick concentrate a quick shake to mix with the fresh water. Shake until the water completely changes colour.

Step-by-step photo: turning the switch on the Salt-Shark Underbody Sprayer to select a spray setting
06

turn on switch

After clipping the sprayer onto the angled stainless steel pole, wheel the Underbody Sprayer under your vehicle. Using your thumb, pull down on the switch to begin spraying.

Step-by-step photo: spraying with the Salt-Shark Underbody Sprayer
07

Spray

Cover all surfaces with foam. You can get over 5 minutes of spraying time with just one pump of Salt-Shark. This is enough to clean multiple cars! There is no need to rinse Salt-Shark off from under your vehicle, leaving on will ensure maximum rust protection. Only rinse off shiny surfaces for a streak free finish.

01

Screw together

Screw the 2 pieces of the sprayer together.
"Lefty loosy, righty tighty"

02

Clip together

Clip the stainless steel poles together by pulling the brass clip back whilst inserting onto the corresponding piece.

03

Fill with fresh water

Fill up the container with fresh water, following the simply instructions on the container.

04

Pump

Following the simply instructions on the container, put one or 2 pumps of the Salt-Shark Vehicle Salt Remover into the container.

05

Shake

Make sure to give our thick concentrate a quick shake to mix with the fresh water. Shake until the water completely changes colour.

06

turn on switch

After clipping the sprayer onto the angled stainless steel pole, wheel the Underbody Sprayer under your vehicle. Using your thumb, pull down on the switch to begin spraying.

07

Spray

Cover all surfaces with foam. You can get over 5 minutes of spraying time with just one pump of Salt-Shark. This is enough to clean multiple cars! There is no need to rinse Salt-Shark off from under your vehicle, leaving on will ensure maximum rust protection. Only rinse off shiny surfaces for a streak free finish.

Step-by-step photo: clipping the extension pole onto the Salt-Shark Underbody SprayerStep-by-step photo: clipping the extension pole onto the Salt-Shark Underbody Sprayer, alternate angleStep-by-step photo: filling the Salt-Shark Underbody Sprayer container with waterStep-by-step photo: pumping the Salt-Shark Underbody Sprayer containerStep-by-step photo: shaking the Salt-Shark Underbody Sprayer container to mix the concentrateStep-by-step photo: turning the switch on the Salt-Shark Underbody Sprayer to select a spray settingStep-by-step photo: spraying with the Salt-Shark Underbody Sprayer

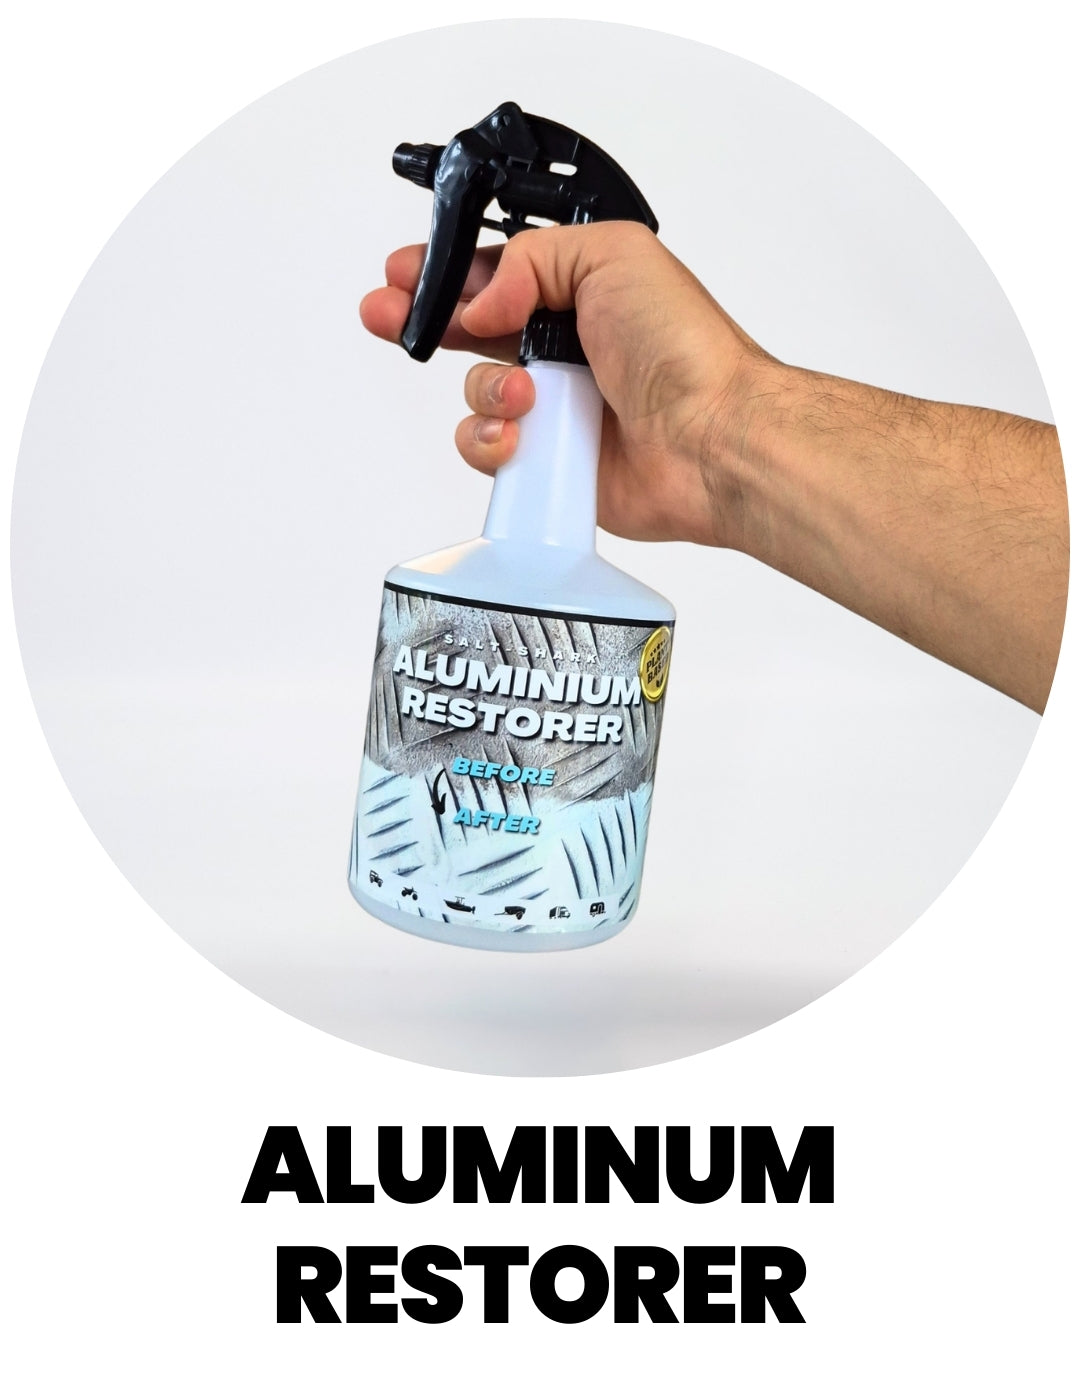
aluminum Restorer

Years of oxidation and metal corrosion, gone in just 30 seconds. Whether it's your boat, trailer, RV, outdoor furniture, or tools, the Salt-Shark Aluminium Restorer is your go to solution for metal restoration.

BUY NOW
Step-by-step photo: spraying Salt-Shark Aluminium Restorer onto an oxidised surface
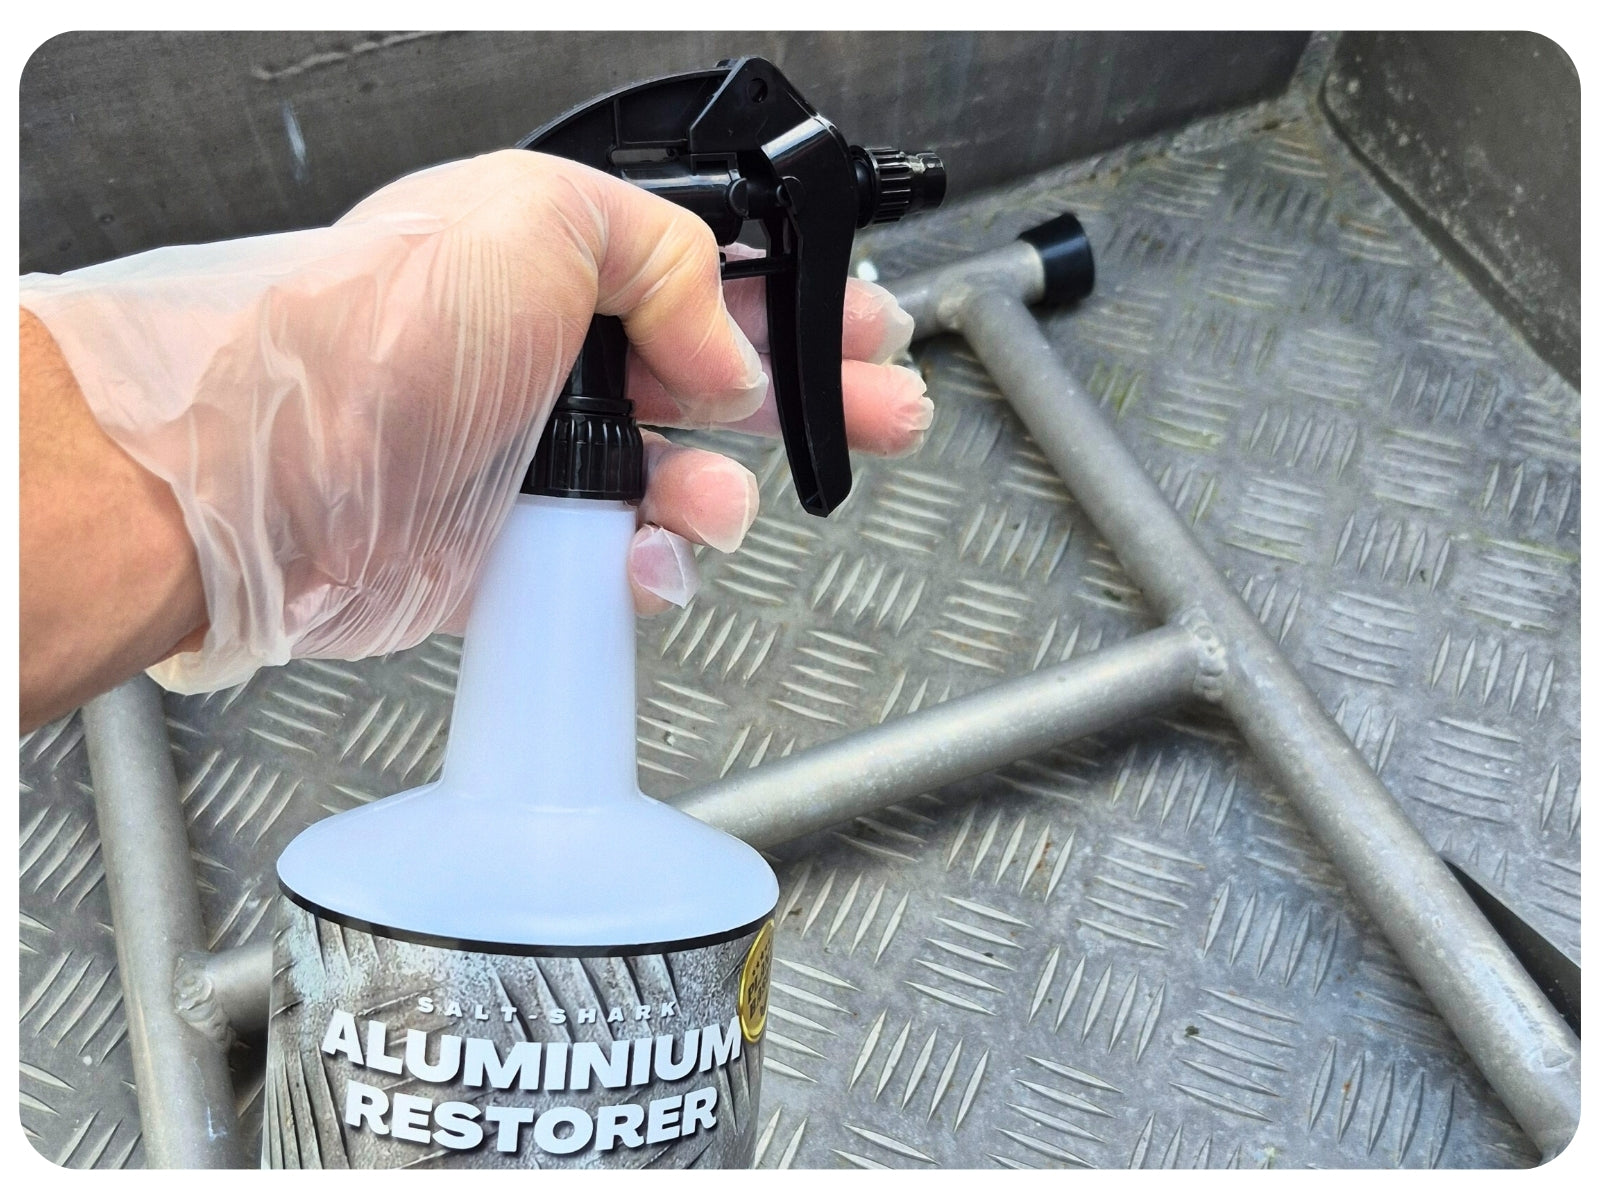
01

Spray

Making sure to follow the safety guidelines on the label, wear gloves and a mask to prevent skin contact and inhalation. Spray the concentrate on then watch as it instantly restores the surface.

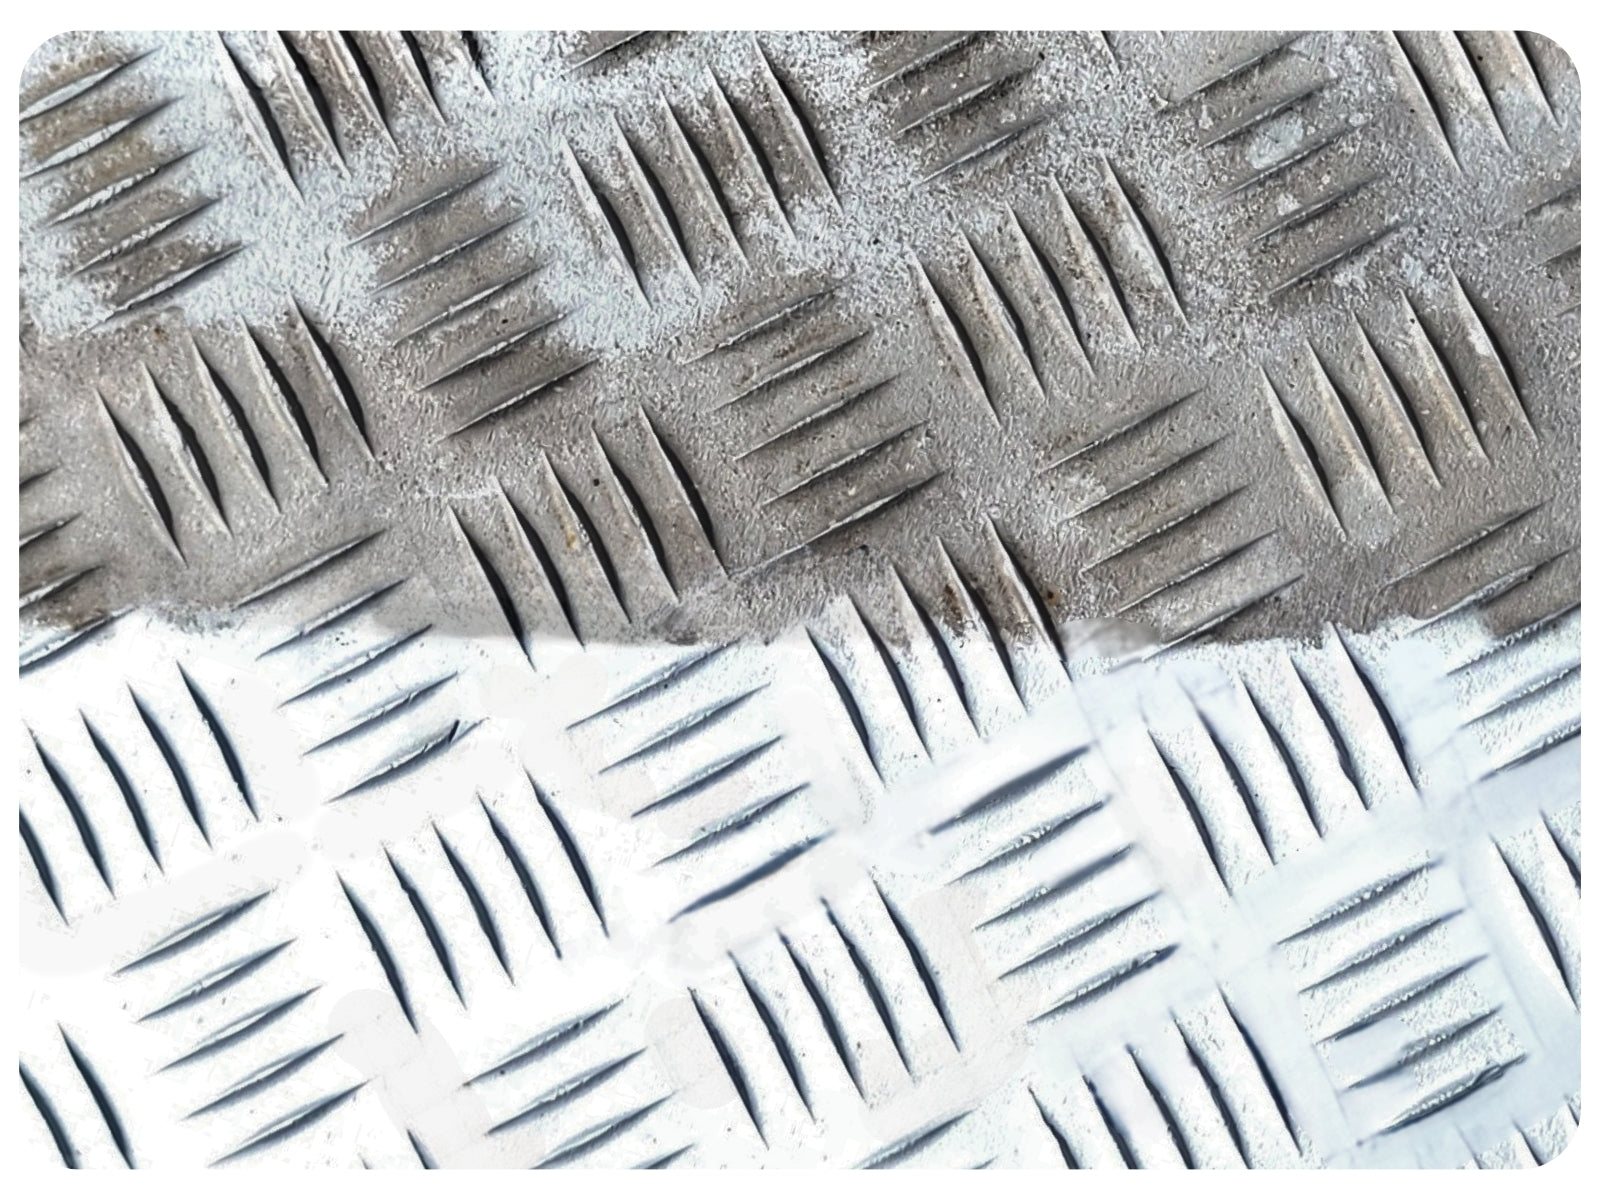
Step-by-step photo: rinsing a surface after applying Salt-Shark Aluminium Restorer
02

Rinse

After 30 seconds, immediately rinse off and enjoy your nice new restored surface.

01

Spray

Making sure to follow the safety guidelines on the label, wear gloves and a mask to prevent skin contact and inhalation. Spray the concentrate on then watch as it instantly restores the surface.

02

Rinse

After 30 seconds, immediately rinse off and enjoy your nice new restored surface.

Step-by-step photo: spraying Salt-Shark Aluminium Restorer onto an oxidised surfaceStep-by-step photo: rinsing a surface after applying Salt-Shark Aluminium Restorer

Drying towel

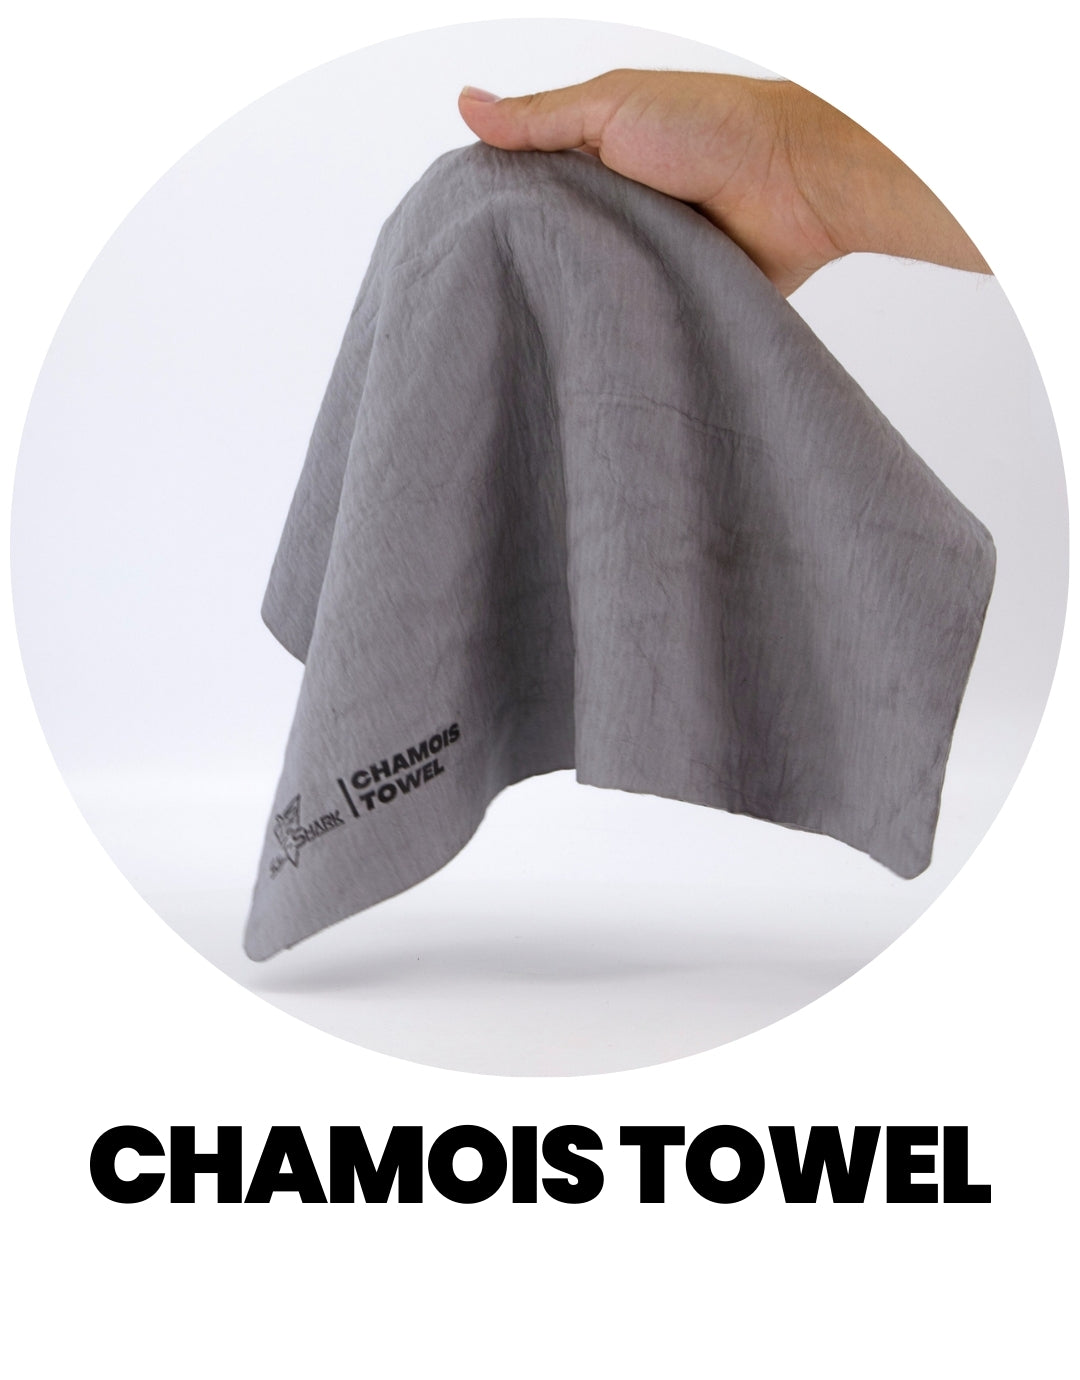
For a water spot free finish, we recommend drying any shiny surface with our high quality chamois towels!

BUY NOW
Step-by-step photo: using the Salt-Shark Chamois Towel to dry a surface, alternate angle
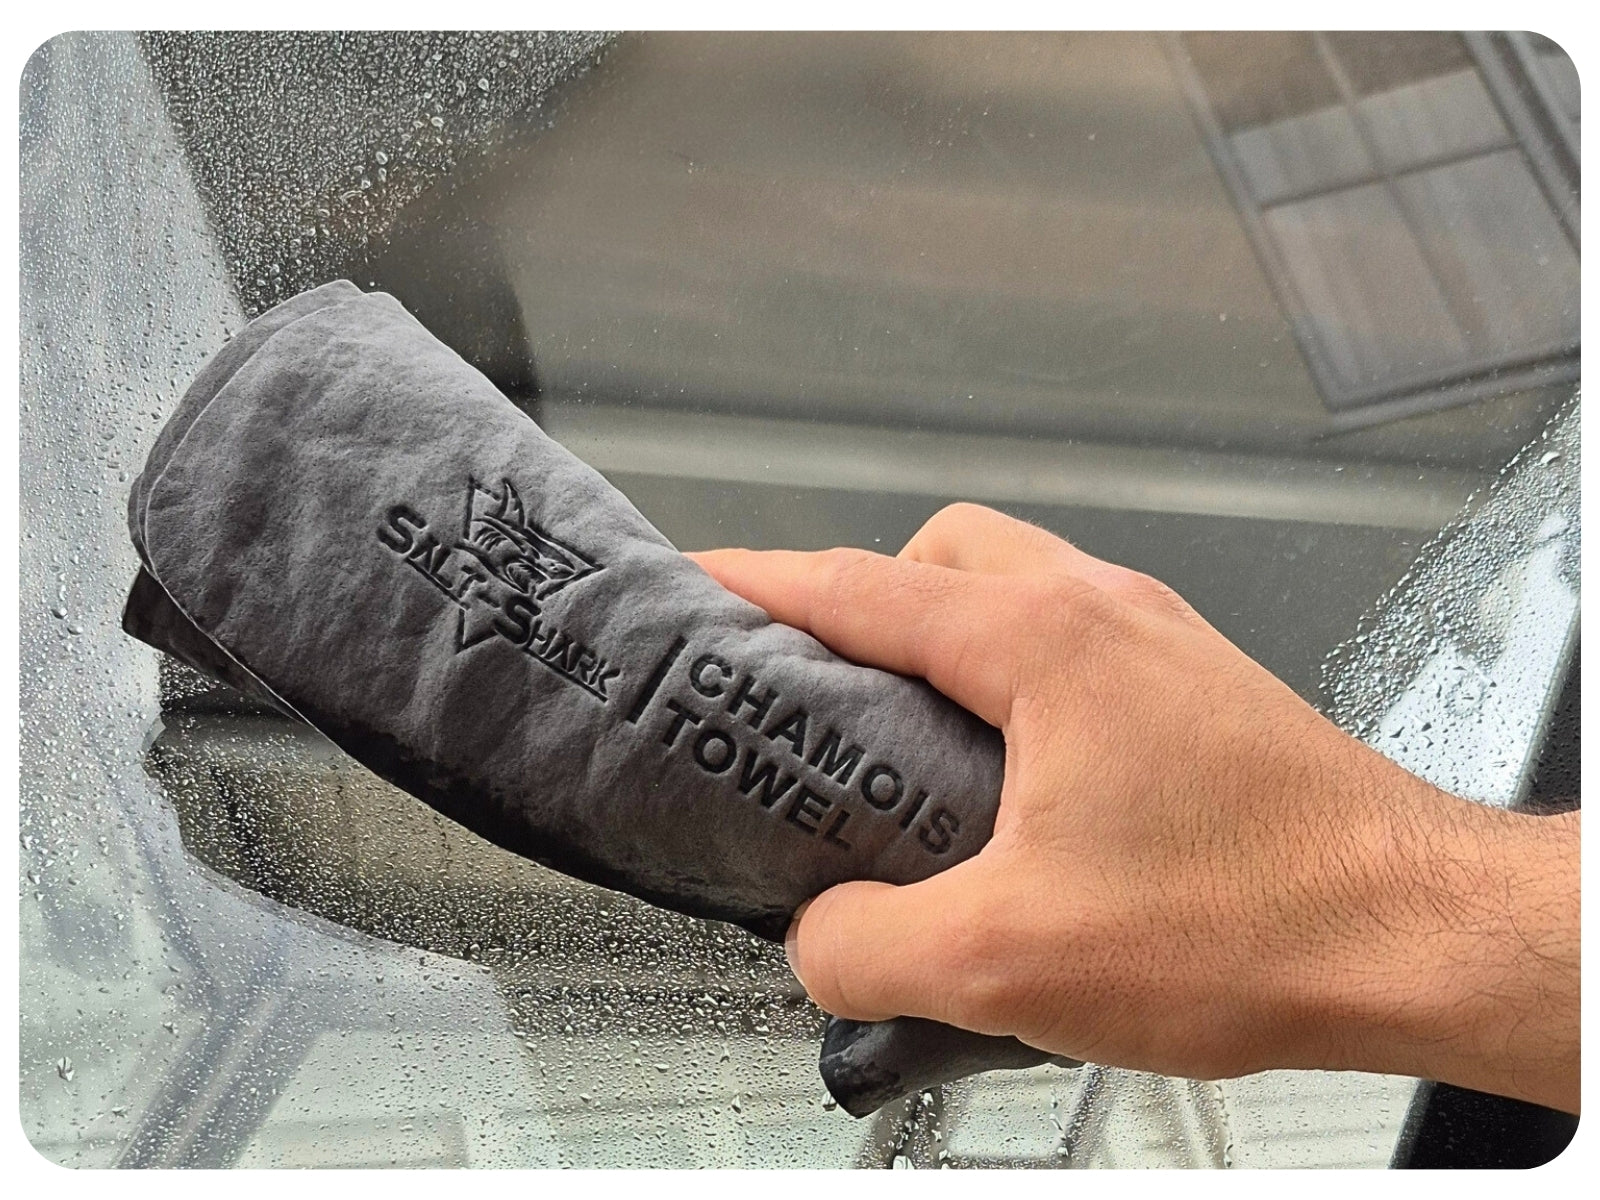
01

DRY

We recommend leaving the towel rolled up like a hotdog and wiping down surfaces as seen in the photo. Once saturated, wring out and continue drying.

Step-by-step photo: using the Salt-Shark Chamois Towel to dry a surface
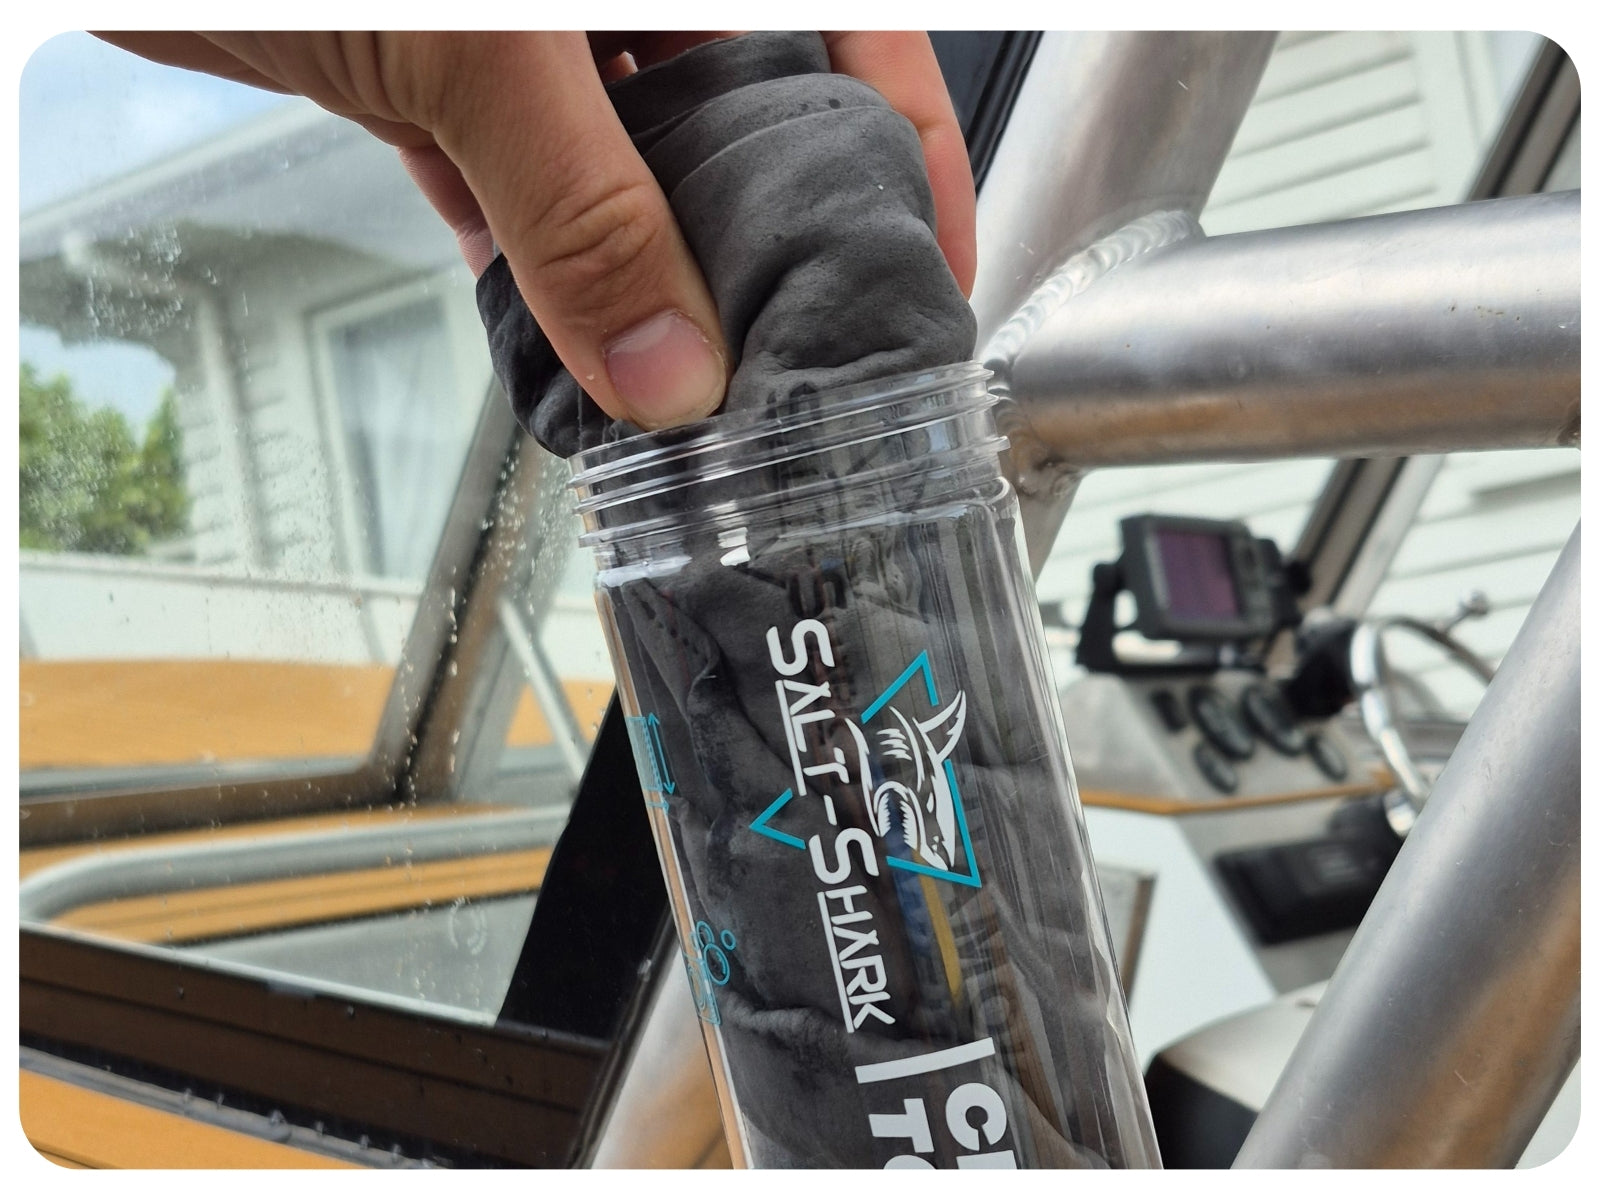
02

Leave damp

This towel works best when damp, so be sure to store it in the container with the closed lid.

01

DRY

We recommend leaving the towel rolled up like a hotdog and wiping down surfaces as seen in the photo. Once saturated, wring out and continue drying.

02

Leave damp

This towel works best when damp, so be sure to store it in the container with the closed lid.

Step-by-step photo: using the Salt-Shark Chamois Towel to dry a surface, alternate angleStep-by-step photo: using the Salt-Shark Chamois Towel to dry a surface